Welcome to a delightful culinary adventure with these Cheesy Chicken Wraps! If you’re in search of a dish that’s not only simple to prepare but also absolutely delicious, you’ve found it. This recipe combines tender cooked chicken with a trio of cheeses, wrapped in a soft tortilla and grilled to perfection. Perfect for busy weeknights or fun gatherings, these wraps are a surefire hit. Let’s dive into this mouthwatering recipe that your family will crave over and over again!
What Makes This Recipe So Good
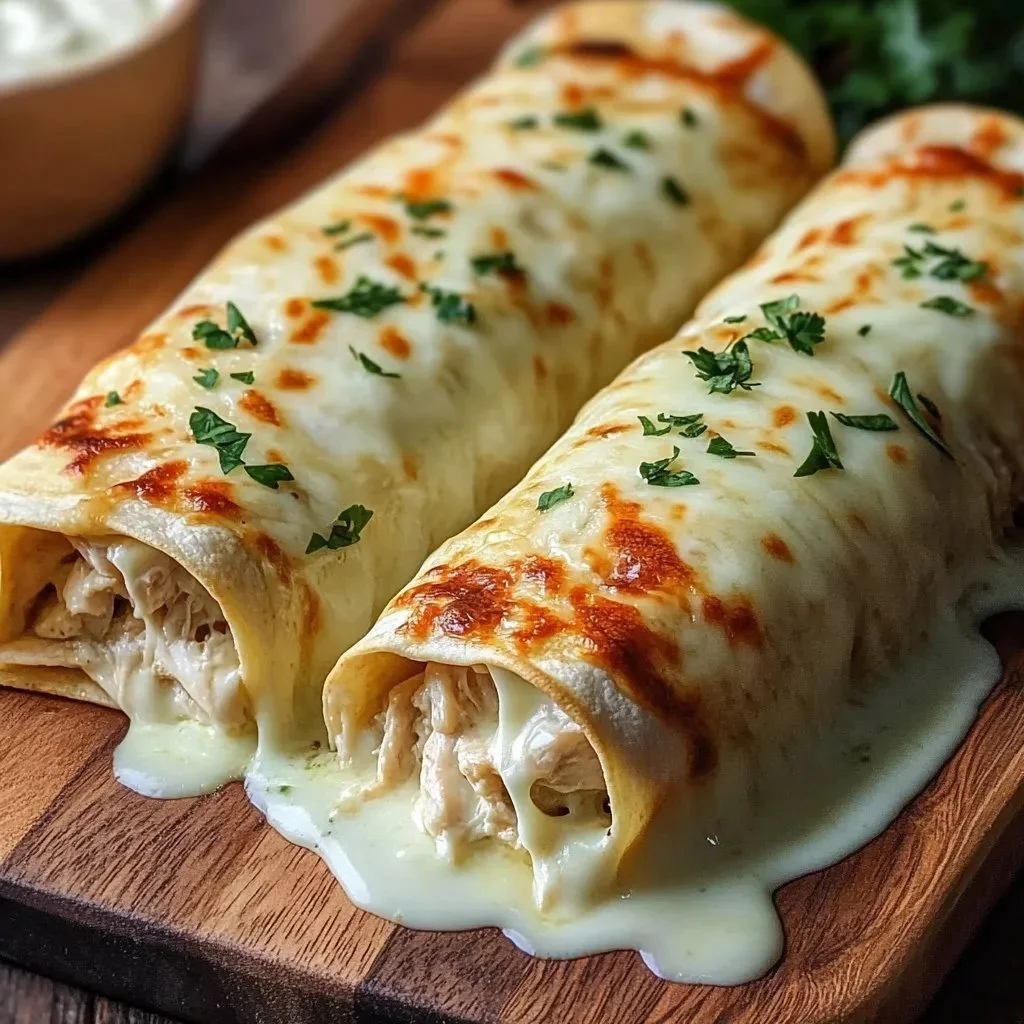
These Cheesy Chicken Wraps are the epitome of convenience and flavor. A roll of flour tortilla encases rich, cheesy goodness with juicy chicken, making each bite incredibly satisfying. Not only are they quick to whip up, but they also cater to various tastes and dietary preferences. Plus, they can be an economical meal option, and the use of leftover cooked chicken makes them a fantastic choice for leftover makeovers!
Easy Cooking Steps Overview
The cooking process for these wraps couldn’t be simpler. First, you’ll blend cooked chicken with a medley of cheeses, spreading that tasty filling onto large flour tortillas. Then, it’s just a matter of rolling them up and cooking them in a skillet until crispy. For an extra touch, a garlic butter glaze adds a rich layer of flavor. Finally, a quick bake in the oven ensures the wraps are heated through and deliciously golden. Even novice cooks will find this recipe approachable!
Ingredients
- Prep Time: 15 minutes
- Cook Time: 20 minutes
- Total Time: 35 minutes
- Servings: 4
- Cooked chicken breast, shredded or diced
- Shredded mozzarella cheese
- Sharp cheddar cheese, shredded
- Fresh Parmesan cheese, grated
- Large flour tortillas
- High-quality unsalted butter, melted
- Fresh garlic cloves, minced
- Dried parsley
- Salt
- Pepper
Each ingredient adds a unique twist to the flavor, with the cheeses providing a creamy texture and the chicken ensuring every wrap is hearty. You can also experiment with different cheese combinations based on your preference!

Step-by-Step Instructions
Creating these Cheesy Chicken Wraps is straightforward, which makes it perfect for home cooks of all skill levels. Follow these detailed steps to ensure delicious results.
- In a large mixing bowl, combine the shredded chicken with mozzarella, cheddar, and Parmesan cheeses. Mix thoroughly until everything is evenly blended. Don’t forget to season your mix lightly with salt and pepper to elevate the flavor.
- Take a large flour tortilla and lay it flat. Spoon about four ounces of the filling mixture into the center—it’s critical not to overfill, as it makes rolling easier.
- Fold the sides of the tortilla inward, then roll it up tightly from the bottom to the top, ensuring everything stays tucked inside.
- Melt your butter and combine it with the minced garlic and dried parsley. This garlic butter mix is what gives your wraps that extra burst of flavor!
- Brush each wrap with the garlic butter and place them seam side down in a preheated skillet over medium heat. Cook them for about 2-3 minutes on each side until they turn golden brown and crispy, creating a delightful crunch.
- While the wraps are cooking, preheat your oven to 375°F. Transfer the wraps to a baking sheet once they are cooked, brush them with any remaining garlic butter, and bake them for 10-12 minutes. Flip the wraps halfway through to ensure even browning.
- If you like, you can cut each wrap in half for easier serving. Serve them hot with your favorite dipping sauces!
Remember, if your wraps feel a little loose during rolling, don’t worry! Securing them tightly will help maintain their structure during cooking.
Delicious Serving Suggestions
These cheesy chicken wraps can stand on their own, but they shine even brighter when paired with some delicious sides or drinks. Consider serving them with a fresh salad, such as a tangy coleslaw or a vibrant mixed greens salad, for a healthful balance. Dipping sauces, like a zesty salsa or creamy ranch, could enhance your meal experience further.
For drinks, you might pair these wraps with a chilled glass of iced tea or a light beer, creating the perfect casual dining atmosphere. They’re also fabulous for gatherings or game day parties, making them a go-to dish for entertaining!
Proper Storage and Reheating Tips
If you happen to have leftovers (though they might be too delicious to last!), you can store these wraps effectively. Allow the wraps to cool completely, then store them in an airtight container in the fridge for up to 3-4 days. For longer storage, you can wrap them tightly in plastic wrap and freeze them for up to 2 months.
When you’re ready to indulge in the leftovers, reheating is simple. For the oven, preheat it to 350°F, place the wraps on a baking sheet, and heat for about 10-15 minutes until warmed through. You can also use a microwave, heating them in 30-second intervals until warm, although this method may not keep them as crispy.
Expert Cooking Tips
To elevate your Cheesy Chicken Wraps further, here are some expert tips to enhance your cooking experience:
- Use leftovers or rotisserie chicken to save time. It’s a great shortcut that can make meal prep so much easier.
- Feel free to experiment with cheese types. Adding pepper jack can bring a spicy kick, or using cream cheese can make for an extra creamy wrap.
- Watch your tortilla size. Large tortillas work best for holding the filling but ensure they remain manageable as you eat!
- Don’t rush the browning process; achieving a golden color adds to the flavor and texture of the wraps.
- Consider adding veggies like spinach, bell peppers, or onions to the filling for added nutrition.
Flavorful Variations to Try
Get creative with your Cheesy Chicken Wraps by incorporating different ingredients. Here are some ideas to spark your imagination:
- Swap out the chicken for shredded beef or pulled pork for a different flavor profile.
- Add cooked vegetables like spinach, mushrooms, or zucchini to the filling for an extra nutrient boost.
- If you love spice, include jalapeños or a hot sauce in the cheese mixture.
- Sue a different type of cheese, like gouda or feta, for a unique flavorscape.
- For a Mediterranean twist, consider adding hummus in place of butter or folding sun-dried tomatoes into the filling.
Frequently Asked Questions
- Can I make these wraps ahead of time?
Absolutely! You can prepare them in advance, store them in the fridge, and reheat them just before serving. - Can I freeze the wraps?
Yes! Just ensure they are well-wrapped to prevent freezer burn. Thaw them in the fridge before reheating. - Can I bake rather than skillet fry the wraps?
Certainly! If you prefer a healthier method, place the assembled wraps on a baking sheet and bake them at 375°F for about 15-20 minutes until golden and crispy. - What dipping sauces pair well with these wraps?
Popular options include ranch, sweet and sour sauce, salsa, or even guacamole for something creamy! - How can I adapt this recipe for a low-carb diet?
Simply swap the flour tortillas for low-carb or lettuce wraps!