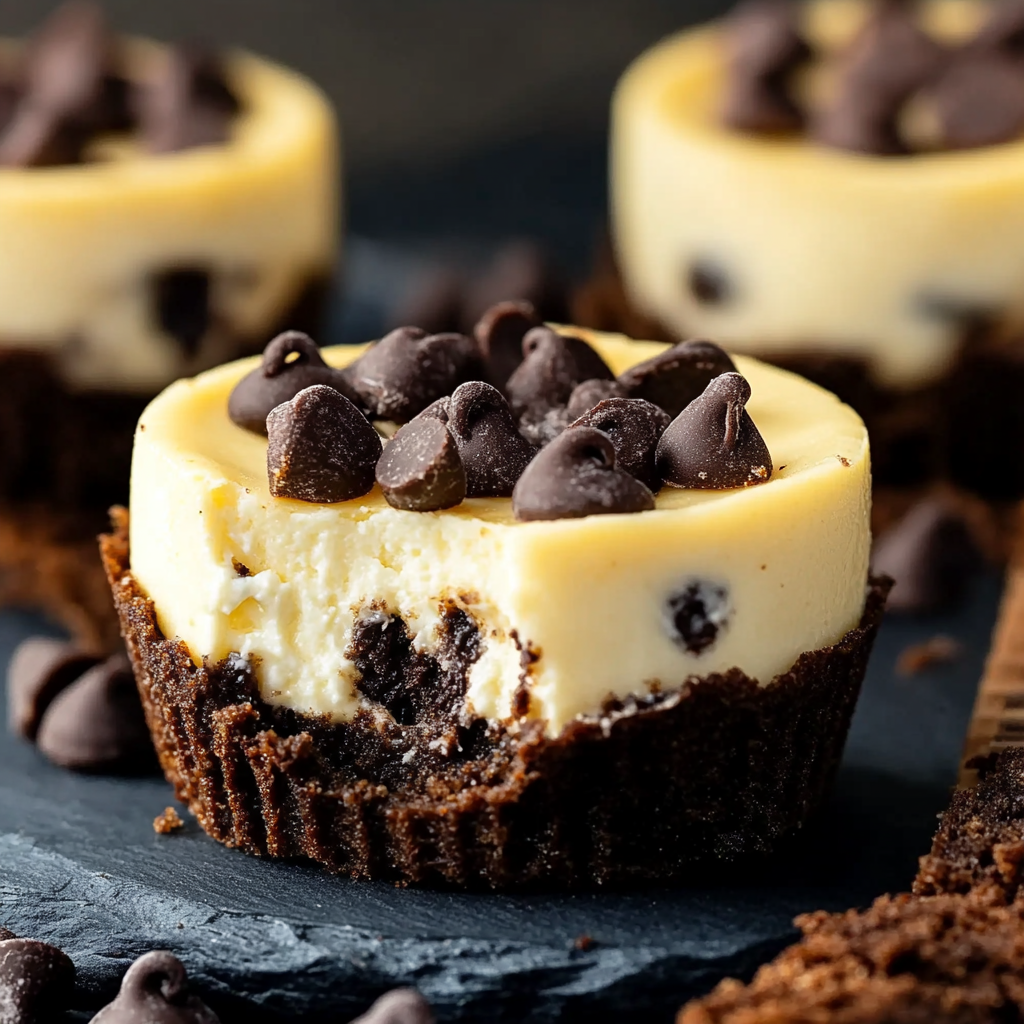
Who can resist the creamy charm of a cheesecake—especially when it’s bite-sized and filled with melty chocolate chips? These Chocolate Chip Mini Cheesecakes are the perfect dessert for any occasion—simple, rich, and irresistibly delicious. Whether you’re hosting a party, packing a lunchbox treat, or just craving something sweet, these little cheesecakes will hit the spot.
They combine the buttery crunch of a graham cracker crust with the creamy tang of cheesecake and the comforting sweetness of chocolate chips. Let’s dive into how to make them—and why they might just become your new favorite dessert.
1. Introduction to Chocolate Chip Mini Cheesecakes
Imagine combining the joy of a chocolate chip cookie with the creamy decadence of a cheesecake. That’s what Chocolate Chip Mini Cheesecakes are all about. Each bite bursts with velvety cream cheese filling, sweet chocolate morsels, and a golden graham cracker crust.
The best part? They’re simple to make and don’t require any special baking skills. Even if you’re new to baking, you’ll find this recipe forgiving and fun.
2. Why You’ll Love This Recipe
What makes these mini cheesecakes so special? Let’s count the ways:
Perfectly portioned: No slicing or messy plates. Just grab and enjoy!
Quick baking time: Ready in less than 30 minutes.
Customizable: You can swap chocolate chips for berries, caramel bits, or even crushed cookies.
Make-ahead friendly: They chill beautifully, making them great for parties or weekly treats.
Think of them as little bites of happiness—small enough to enjoy guilt-free, but rich enough to satisfy every sweet craving.
3. Ingredients Overview
Before you start, gather these simple ingredients:
Crust
1 cup graham cracker crumbs
2 tbsp brown sugar
A small pinch of salt
2 1/2 tbsp melted butter
Cheesecake
8 oz softened cream cheese
2 tbsp sour cream or Greek-style yogurt
1/3 cup sugar
1 large egg
1 tsp vanilla extract
1 cup chocolate chips
Each ingredient plays a crucial role—graham crackers add texture, cream cheese brings richness, and chocolate chips add that melt-in-your-mouth goodness.
4. The Perfect Crust: Crunchy and Buttery
The crust is the foundation of every great cheesecake. Think of it like a good pair of shoes—it needs to be strong enough to hold everything together yet soft enough to complement the filling.
Combine the graham cracker crumbs, brown sugar, salt, and melted butter until the crumbs are fully moistened. The mixture should resemble wet sand. Then, press about a tablespoon into each muffin liner to create an even base.
Tip: Use the back of a spoon or a shot glass to press it down firmly. This ensures a compact, crunchy crust that won’t crumble apart.
5. Making the Creamy Cheesecake Filling
This step is where the magic happens. In a medium bowl, beat the cream cheese, sour cream (or yogurt), and sugar until smooth and lump-free. Add in the egg and vanilla extract, mixing gently until everything is combined.
Avoid overmixing—too much air can cause cracks while baking. Think of it as stirring a pot of gold: gentle, smooth, and full of promise.
6. Adding the Chocolate Chips
Chocolate chips transform a regular cheesecake into something extraordinary. Sprinkle 1 tablespoon of chocolate chips at the bottom of each muffin cup, pour in the cheesecake mixture, and top with another tablespoon of chips.
This double-layer of chocolate ensures that every bite has the perfect balance of creamy and crunchy sweetness.
7. Step-by-Step Instructions
Let’s walk through the process:
Preheat your oven to 350°F (175°C) and line 8 cups of a muffin pan with paper liners.
Prepare the crust by mixing graham cracker crumbs, brown sugar, and salt. Add melted butter and stir until combined.
Press about 1 tablespoon of the mixture into each muffin cup, creating an even layer.
Make the filling by creaming together cream cheese, sour cream, and sugar. Mix in egg and vanilla extract until smooth.
Add chocolate chips: Place 1 tablespoon of chips in each crust, pour the cheesecake batter on top, then sprinkle another tablespoon of chips on each.
Bake for 20–25 minutes, or until the cheesecakes are set.
Cool in the pan for 10 minutes, then transfer to a wire rack. Chill before serving.
8. Tips for Baking the Perfect Mini Cheesecakes
Use room temperature ingredients: Cold cream cheese can lead to lumps.
Don’t overbake: The centers should jiggle slightly when done.
Avoid opening the oven door: Sudden temperature changes cause cracks.
Line your pan properly: Paper liners make removal effortless.
Think of your oven as a slow artist—patient, precise, and needing consistency.
9. Cooling and Chilling Tips
After baking, let your mini cheesecakes rest in the pan for about 10 minutes before transferring them to a cooling rack. Once completely cool, refrigerate for at least 2 hours (overnight is even better).
Chilling allows the flavors to deepen and the texture to become luxuriously creamy. It’s like letting fine wine rest—worth every minute of waiting.
10. Serving Suggestions
Serve these Chocolate Chip Mini Cheesecakes chilled, either plain or with a little flair. Try topping them with:
Whipped cream and a drizzle of chocolate syrup
Fresh berries for a fruity touch
A dusting of cocoa powder or powdered sugar
A sprinkle of crushed cookies for extra crunch
They’re perfect for birthdays, afternoon tea, or simply a midweek treat.
11. Creative Variations and Add-ins
Feeling adventurous? Try one of these delicious twists:
Peanut Butter Swirl: Add a spoonful of peanut butter into the cheesecake mixture.
Mint Chocolate: Mix in a drop of peppermint extract for a refreshing flavor.
Oreo Crunch: Replace graham crackers with crushed Oreos.
Salted Caramel: Drizzle caramel sauce on top before chilling.
Each version offers a unique take on the classic—proof that even small changes can make a big difference.
12. How to Store Mini Cheesecakes
Store your mini cheesecakes in an airtight container in the refrigerator for up to 5 days. Keep them covered to maintain their creamy texture and prevent them from absorbing other fridge odors.
13. How to Freeze Them for Later
Yes, you can freeze these little beauties! Place the cheesecakes on a baking sheet to freeze individually for about 1 hour, then transfer them to a freezer-safe container or bag. They’ll last up to 2 months.
When you’re ready to enjoy, thaw them in the refrigerator overnight—no microwaving needed.
14. Troubleshooting Common Mistakes
Cracks on top? Overbaking or overmixing might be the cause.
Soggy crust? Make sure to press the crust firmly and bake it briefly before adding filling.
Cheesecake too dense? You may have used cold ingredients. Room temperature is key.
Remember, baking is both art and science—mistakes happen, but each one teaches you something delicious.
15. Final Thoughts and Enjoyment
These Chocolate Chip Mini Cheesecakes are proof that great desserts don’t have to be complicated. With just a few ingredients and simple steps, you can create bakery-quality treats at home.
Each bite is creamy, crunchy, and full of chocolatey joy—a dessert that brings smiles every time. Whether it’s a cozy night in or a celebration with friends, these mini cheesecakes will always steal the spotlight.
16. FAQs about Chocolate Chip Mini Cheesecakes
1. Can I use a different type of cookie for the crust?
Yes! You can use Oreos, digestive biscuits, or vanilla wafers for a fun twist.
2. How do I know when the mini cheesecakes are done baking?
They’re ready when the centers are slightly jiggly but the edges are firm. They’ll continue to set as they cool.
3. Can I make this recipe without eggs?
Absolutely. Substitute the egg with 3 tablespoons of plain Greek yogurt or cream cheese for a similar texture.
4. How long should I chill them before serving?
At least 2 hours in the fridge, but overnight is ideal for the best flavor and texture.
5. Can I make these ahead of time for a party?
Yes! These mini cheesecakes are perfect make-ahead desserts. Simply bake, chill, and store them in the fridge until serving.
In short: Whether you’re baking for fun, family, or a special occasion, Chocolate Chip Mini Cheesecakes are a surefire way to impress everyone. They’re creamy, sweet, and perfectly portioned—tiny bites of pure happiness.