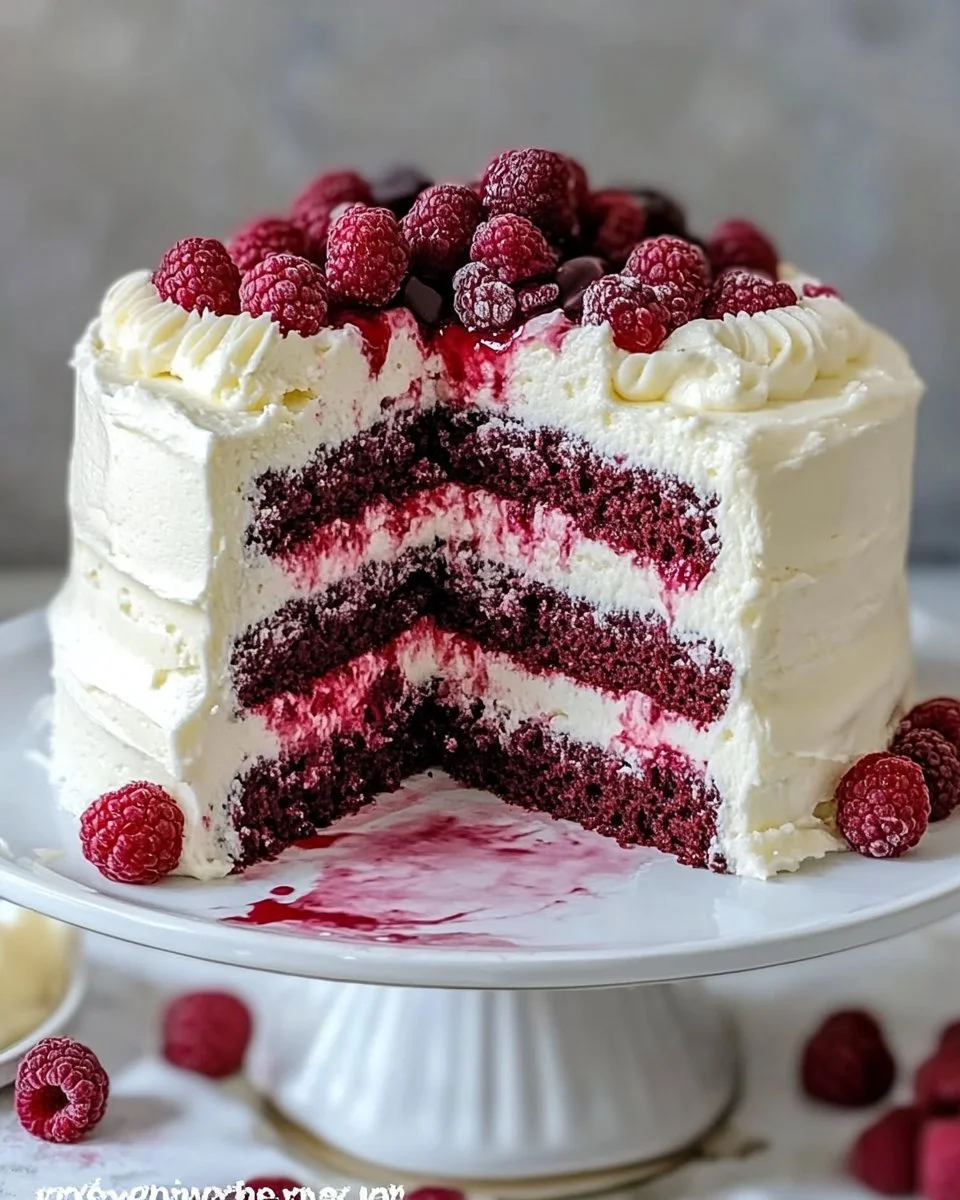
Indulging in a slice of White Chocolate Raspberry Dream Cake is like biting into a piece of heaven. This delightful dessert combines the creamy sweetness of white chocolate with the tartness of fresh raspberries, creating a flavor profile that is both refreshing and satisfying. Perfect for any special occasion or simply a weekend treat, this cake is guaranteed to impress your family and friends. Not only is it a showstopper in appearance, but it’s also simple enough for any home baker to create. Let’s dive into why this dreamy cake deserves a spot in your recipe collection!
What Makes This Recipe So Delightful
This recipe for White Chocolate Raspberry Dream Cake works wonderfully for several reasons. Firstly, it balances sweetness and tartness, appealing to a wide range of taste preferences. Secondly, the cake is made with readily available ingredients, ensuring you won’t have to embark on a treasure hunt at the grocery store. The process might appear elaborate, but it perfectly suits beginners and experienced bakers alike, as the steps are straightforward and rewarding. Finally, it produces a cake that is not only delicious but also visually stunning, making it the perfect centerpiece for any gathering.
A Simple Look at the Baking Process
Creating this charming cake comes together in a series of manageable steps. You’ll start by preparing the cake batter, which involves beating creamy butter and sugar together, adding eggs, and mixing in your dry ingredients. This is where the magic happens as you combine melted white chocolate and fresh raspberries to elevate the flavor. After baking the layers to tender perfection, you’ll whip up a luscious frosting and homemade raspberry sauce to add an extra pop of flavor. Finally, assembly is an enjoyable task where you layer, frost, and garnish your creation to make it as inviting as it tastes!
Ingredients
Gather these fresh ingredients to make your White Chocolate Raspberry Dream Cake:
- 2 1/2 cups all-purpose flour
- 2 1/2 tsp baking powder
- 1/2 tsp salt
- 1 cup unsalted butter, softened
- 1 1/2 cups granulated sugar
- 4 large eggs
- 1 tsp vanilla extract
- 1 cup whole milk
- 1/2 cup white chocolate chips, melted
- 1/2 cup fresh raspberries (mashed)
- For the Frosting:
- 1 cup unsalted butter, softened
- 4 cups powdered sugar
- 1/2 cup white chocolate chips, melted
- 1 tbsp heavy cream
- 1 tsp vanilla extract
- Pinch of salt
- For the Raspberry Sauce:
- 1 cup fresh raspberries
- 1/4 cup sugar
- 1 tbsp lemon juice
Step-by-Step Instructions
Let’s break down the steps to successfully bake and assemble your dream cake:
- Preheat your oven: Start by preheating your oven to 350°F (175°C) while you prepare the cake pans. This step is crucial for achieving even baking.
- Prepare the cake pans: Grease and flour two 9-inch round cake pans to prevent sticking.
- Mix dry ingredients: In a medium bowl, combine the flour, baking powder, and salt. Whisk them together gently and set aside.
- Cream butter and sugar: In a large mixing bowl, using an electric mixer, beat the softened butter and granulated sugar until the mixture is light and fluffy. This process incorporates air into the ingredients, yielding a lighter cake.
- Add eggs: Beat in the eggs, one at a time. Make sure to mix well after each addition to create a smooth batter.
- Stir in vanilla: Add in the vanilla extract and mix until well combined.
- Combine wet and dry: Gradually add the dry ingredients to the butter mixture, alternating with the whole milk. Start and end with the dry ingredients. This helps to prevent overmixing.
- Incorporate white chocolate and raspberries: Gently fold in the melted white chocolate and mashed raspberries until everything is well-blended.
- Divide the batter: Evenly distribute the batter between the prepared cake pans. Smooth the tops with a spatula.
- Bake the cakes: Place the pans in the oven and bake for 25-30 minutes, or until a toothpick inserted into the center comes out clean. Keep an eye on them towards the end to prevent overbaking.
- Cool the cakes: Allow the cakes to cool in the pans for about 10 minutes before transferring them to a wire rack to cool completely.
- Make the raspberry sauce: While the cakes are cooling, prepare the raspberry sauce. In a small saucepan, combine the fresh raspberries, sugar, and lemon juice. Heat them over medium heat, stirring frequently until the raspberries begin to break down and the sauce thickens. Once ready, remove from heat and allow it to cool.
- Prepare the frosting: In another mixing bowl, beat the softened butter and powdered sugar until smooth and creamy. Then stir in the melted white chocolate, heavy cream, vanilla extract, and a pinch of salt. Beat until the frosting is fluffy and well combined.
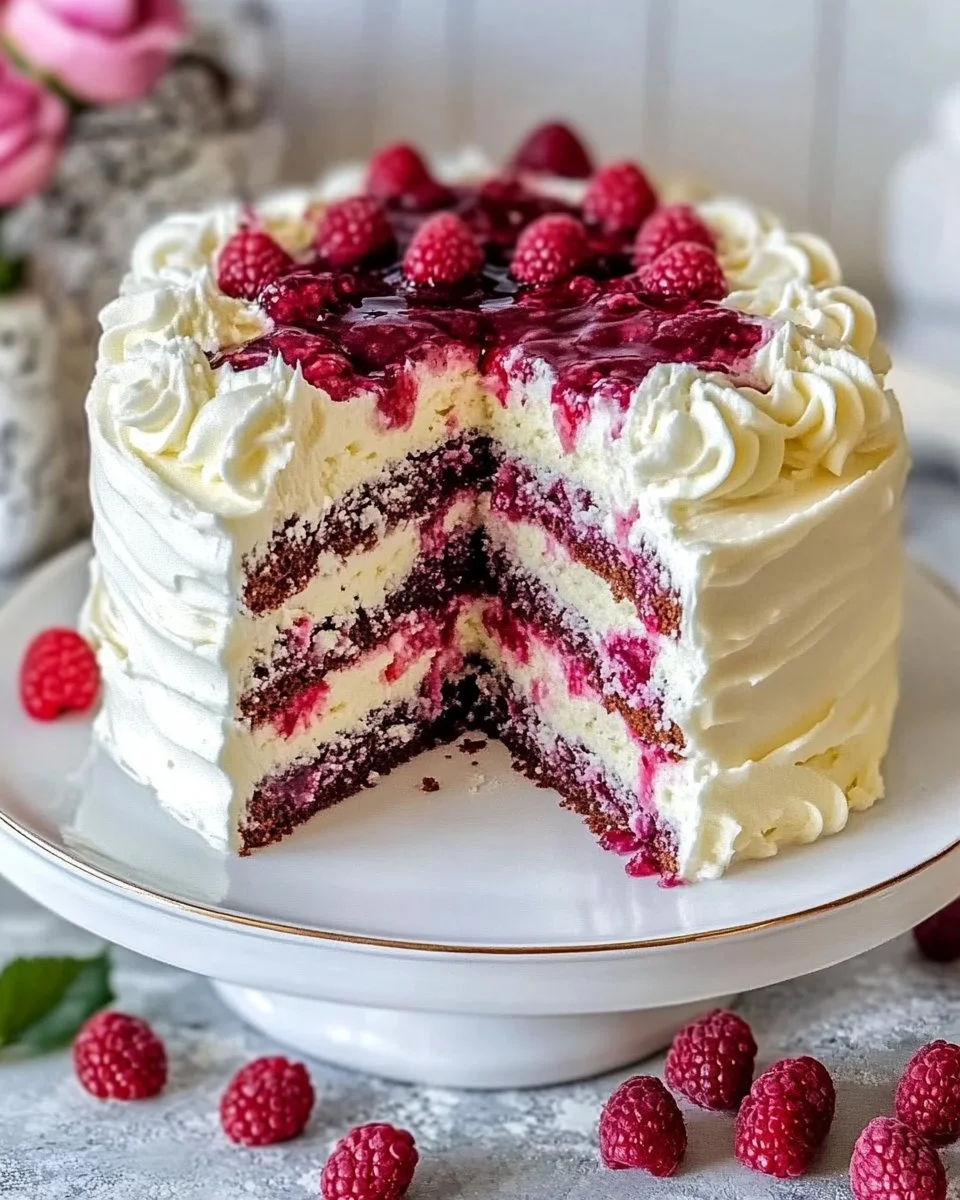
- Assemble the cake: Once the cakes have completely cooled, place one layer on a serving plate. Spread a generous layer of frosting on top and drizzle with raspberry sauce. Place the second layer on top and cover the entire cake with frosting.
- Garnish: Finish with fresh raspberries and an extra drizzle of raspberry sauce for a beautiful presentation.
Serving Suggestions
When it comes to serving your White Chocolate Raspberry Dream Cake, the presentation is just as important as the taste. This cake shines as a centerpiece for special occasions such as birthdays, anniversaries, or even holiday gatherings. Pair it with a scoop of vanilla ice cream or a dollop of whipped cream to balance the flavors. For beverages, consider serving it with a light-bodied white wine or a refreshing iced tea. This dessert can also shine at brunch alongside fresh fruit and coffee.
Proper Storage and Reheating
Storing your White Chocolate Raspberry Dream Cake properly is essential to maintain its delicious flavor and texture. Keep leftover cake in an airtight container at room temperature for up to three days. Should you need to store it longer, wrap it tightly in plastic wrap and place it in the freezer, where it can last for up to three months. To serve, simply thaw the frozen cake in the refrigerator overnight and allow it to sit at room temperature for about 30 minutes before serving. If you’ve made the raspberry sauce, keep it stored in the fridge for up to one week in a sealed container.
Handy Tips for Success
Every baker can benefit from a few helpful tips! Here are some to ensure your cake turns out perfectly:
- Room temperature ingredients: Make sure your eggs and butter are at room temperature for better emulsification.
- Don’t overmix: When combining the wet and dry ingredients, mix just until combined to keep the cake light and fluffy.
- Check doneness: Don’t rely solely on time; check the cake’s doneness with a toothpick or cake tester.
- Cool completely: Always allow your cakes to cool completely before frosting to prevent melting or sliding.
Fabulous Flavor Variations
While the original recipe is already delicious, there are ways to switch things up! Consider these variations:
- Fruit substitutes: Swap fresh raspberries for strawberries, blueberries, or blackberries for a different flavor while maintaining a similar texture.
- Chocolate lovers: Increase the amount of white chocolate or switch it up with dark chocolate chips for a richer taste.
- Add nuts: Chopped pistachios or almonds can add a delightful crunch to the cake.
- Layering flavors: Add lemon zest to the frosting or cake batter for a zesty twist that complements the other flavors.
Frequently Asked Questions
1. Can I make this cake in advance?
You can bake the cake layers a day or two in advance, store them in the refrigerator, and frost them right before serving.
2. Can I use frozen raspberries?
Yes, you can use frozen raspberries, but be sure to thaw and drain them properly before using to prevent excess moisture in the cake.
3. What type of frosting pairs best with this cake?
This cake pairs well with cream cheese frosting or a light whipped cream if you’d prefer a less sweet option.
4. How do I prevent the cake from sinking?
Ensure that your baking powder is fresh and avoid overmixing your batter, as this can lead to a dense cake.
5. Is this cake suitable for dietary restrictions?
For gluten-free versions, substitute the all-purpose flour with a gluten-free blend. Dairy-free alternatives can be used for butter and milk.