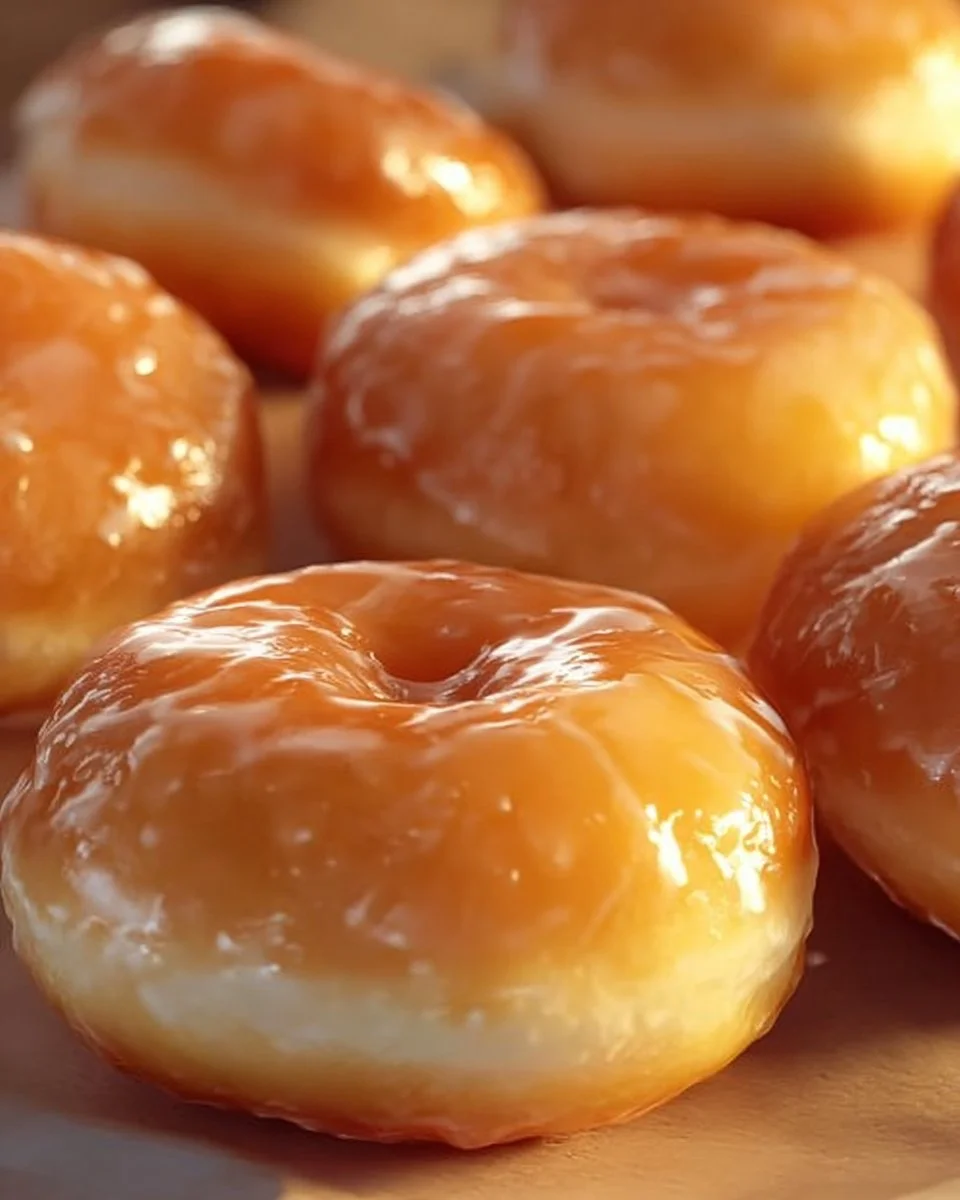
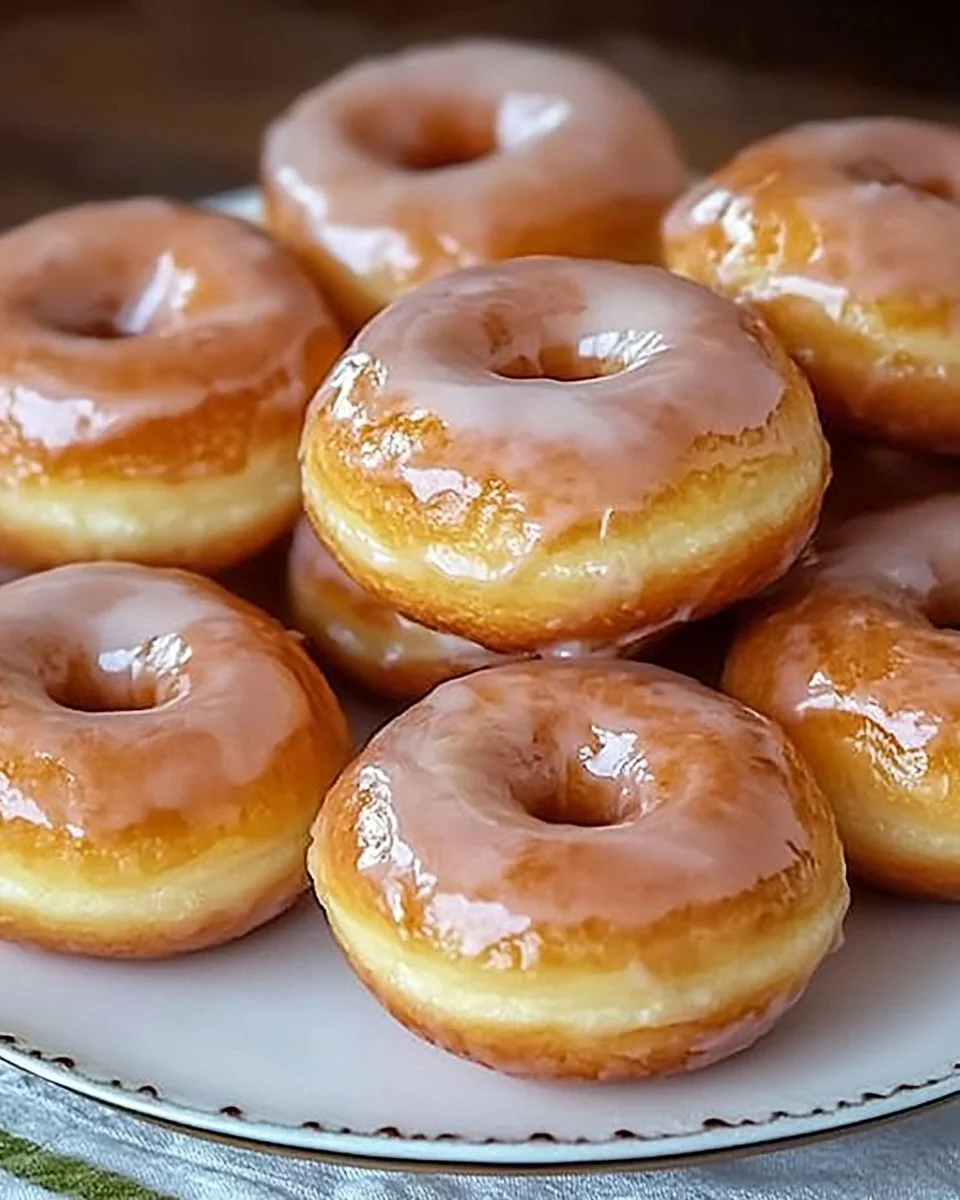
There’s something truly magical about biting into a freshly made doughnut, especially one that’s soft, airy, and perfectly glazed. Homemade Krispy Kreme doughnuts bring that feeling right into your home kitchen, allowing you to indulge in a classic treat that’s beloved by many. With their light texture and sweet glaze, these doughnuts are perfect for breakfast, a cozy brunch, or a delightful snack any time of day.
Not only are they a joy to eat, but making these doughnuts from scratch can also be a fun family activity. So gather your loved ones, and let’s dive into this delightful recipe that’s sure to impress!
What Makes This Recipe So Good
This recipe stands out for several reasons. First and foremost, it uses simple, accessible ingredients that you probably already have in your pantry. The doughnuts are easy to make, even if you’re a beginner in the kitchen. They provide a fantastic opportunity to practice your baking skills without requiring complex techniques or tools.
Moreover, the satisfaction of creating something as delightful as Krispy Kreme doughnuts at home cannot be overstated! You’ll get to customize them however you like, making each batch uniquely yours. Plus, who doesn’t love a warm, fresh doughnut straight from the fryer? It’s comfort food at its best!
Overview of Cooking Process
Making homemade Krispy Kreme doughnuts involves a straightforward process that any home cook can master. You start by activating the yeast, which is crucial for giving the dough that iconic fluffy texture. Next, you’ll mix the dough ingredients and let it rise until it doubles in size, allowing the yeast to work its magic. After rolling out the dough and cutting out your doughnuts, you’ll let them rise again slightly before frying them to golden perfection. Finally, dip the warm doughnuts in a sweet glaze that’s simply irresistible.
Each step flows into the next, creating an enjoyable baking experience that culminates in warm, fresh doughnuts that you’ll want to share (or keep all to yourself!).
Ingredients
- Prep Time: 20 minutes
- Cook Time: 15 minutes
- Rise Time: 1.5 hours + 40 minutes
- Total Time: Approximately 2 hours 15 minutes
- Servings: About 12 doughnuts
- 2 1⁄4 teaspoons active dry yeast
- 1⁄2 cup warm water (around 43°C)
- 1⁄4 cup granulated sugar
- 1⁄4 cup whole milk (lukewarm)
- 1⁄4 cup unsalted butter, melted
- 1 large egg
- 2 1⁄2 cups all-purpose flour
- 1⁄2 teaspoon salt
- Vegetable oil (enough for deep frying)
- 1 1⁄2 cups powdered sugar, sifted
- 2 tablespoons milk
- 1⁄2 teaspoon vanilla extract
A few key ingredients in this recipe deserve a spotlight. The active dry yeast is essential for creating that delightful rise and airy texture, while the whole milk contributes richness. Don’t forget the powdered sugar, which is the star of the glaze that makes these doughnuts so special. Use fresh, high-quality ingredients for the best results!
Step-by-Step Instructions
Follow these detailed steps to create your delicious homemade Krispy Kreme doughnuts:
- Activate the yeast: In a small bowl, dissolve the yeast in warm water with a pinch of sugar. Let sit for 5–10 minutes until frothy. This step is crucial; it ensures your dough will rise nicely.
- Prepare the dough: In a large bowl, mix together sugar, lukewarm milk, melted butter, and the large egg. Stir in the yeast mixture until well combined. Gradually add the flour and salt, mixing until a soft dough forms. Knead the dough for about 5 minutes until it is smooth and elastic. This kneading process helps develop the gluten, which gives the dough its desired texture.
- Let it rise: Place the dough in a greased bowl, cover it with a clean cloth, and let it rise in a warm place until doubled in size, about 1 to 1.5 hours. If your kitchen is cool, you might consider placing the dough in an oven set to low heat or in a sunny spot.
- Shape the doughnuts: Once the dough has risen, punch it down to release excess air. Roll it out on a lightly floured surface to about 1⁄2-inch thickness. Use a doughnut cutter to cut out doughnuts and holes, placing them on a baking sheet lined with parchment paper.
- Second rise: Cover the cut doughnuts lightly with a cloth and let them rise again for 30–40 minutes until puffed. This step ensures that the doughnuts will be light and fluffy after frying.
- Fry to perfection: Heat vegetable oil in a deep pot to 180°C (350°F). Carefully fry the doughnuts a few at a time, about 2–3 at a time, for about 1 minute per side until they are golden brown. Make sure not to overcrowd the pot to maintain the oil temperature.
- Make the glaze: While the doughnuts are frying, whisk together the sifted powdered sugar, milk, and vanilla extract in a medium bowl until smooth. This glaze should be thick but pourable.
- Glaze them: Once fried, allow the doughnuts to drain on a wire rack for a minute. While they are still warm, dip each doughnut into the glaze, letting the excess drip off. Place them back on the rack to set.
Throughout this process, remember that practice makes perfect. Don’t worry if your first batch isn’t perfect – it’s all about having fun and enjoying the process!
Serving Suggestions
These homemade doughnuts are an absolute treat on their own, but there are many ways to enjoy them even more. Serve them fresh with a cup of hot coffee or tea for a cozy morning routine. If you’re feeling adventurous, consider adding a sprinkle of colored sprinkles on top of the glaze to make them festive for celebrations or family gatherings.
For a more indulgent experience, try filling them with homemade jams, creams, or custards. These doughnuts are perfect for dessert after a hearty meal or as a sweet treat during a movie night. Their versatility makes them an ideal option for any occasion!
Storing and Reheating Tips
If you find yourself with extra doughnuts (or want to make ahead), you can store them easily. Place the glazed doughnuts in an airtight container at room temperature for up to 2 days. For longer storage, consider placing them in the refrigerator, where they will keep fresh for about a week.
To enjoy your doughnuts warm again, simply preheat your oven to 170°C (340°F) and warm them for about 5 minutes. This will help restore their fabulous texture.
Expert Cooking Advice
Here are some professional tips to help you create the most delightful doughnuts:
- Make sure your yeast is fresh. Expired yeast won’t activate properly, leading to dense dough.
- Measure your flour accurately. Too much flour can dry out the dough, while too little can make it too sticky.
- Don’t rush the rising times. Allowing the dough to rise adequately ensures the final product is soft and fluffy.
- Fry in batches and maintain your oil temperature. If the oil is too hot, the doughnuts will burn; if too cool, they’ll absorb too much oil and become greasy.
- Have fun experimenting with flavors. Consider adding cinnamon or nutmeg to the dough or flavored extracts to the glaze for more variation!
Customizing Your Doughnuts
One of the best aspects of this recipe is its flexibility. If you want to switch things up, you can try various flavorings. For example, consider adding lemon zest or cocoa powder into the dough for a different taste. You can also experiment with the glaze by using different extracts, such as almond or coconut, for a unique twist on the classic flavor.
If you’re feeling particularly adventurous, how about trying a chocolate glaze? Just melt chocolate together with a bit of cream and dip the doughnuts once they are cool.
Frequently Asked Questions
- Can I use instant yeast instead of active dry yeast? Yes, you can substitute instant yeast for active dry yeast; however, you won’t need to activate it in warm water first. Just mix it directly into the dry ingredients.
- Can I freeze the doughnuts? Absolutely! To freeze, place unglazed doughnuts in a single layer on a baking tray until firm, then transfer them to an airtight container or freezer bag. They can be frozen for up to 3 months.
- What if my doughnuts didn’t rise well? This could be due to expired yeast or insufficient warm rising conditions. If this happens, you might not get the fluffy texture, but the taste will still be delicious!
- Can I make mini doughnuts? Yes, simply use a smaller cutter for mini versions. Adjust the frying time, as they’ll cook faster.
- What’s the best way to enjoy leftover doughnuts? Leftover doughnuts are wonderful when warmed slightly and paired with fresh fruit or even a scoop of ice cream!