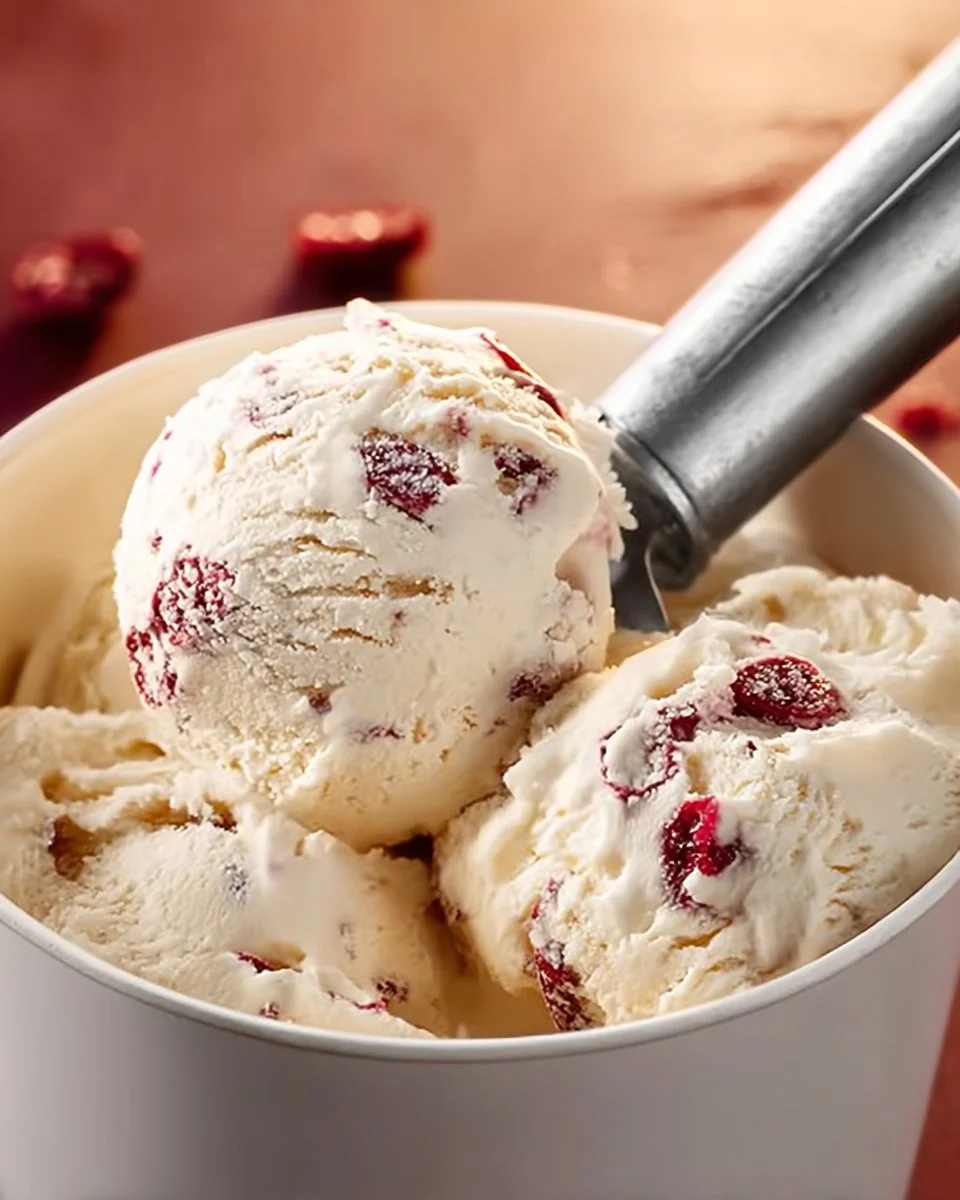
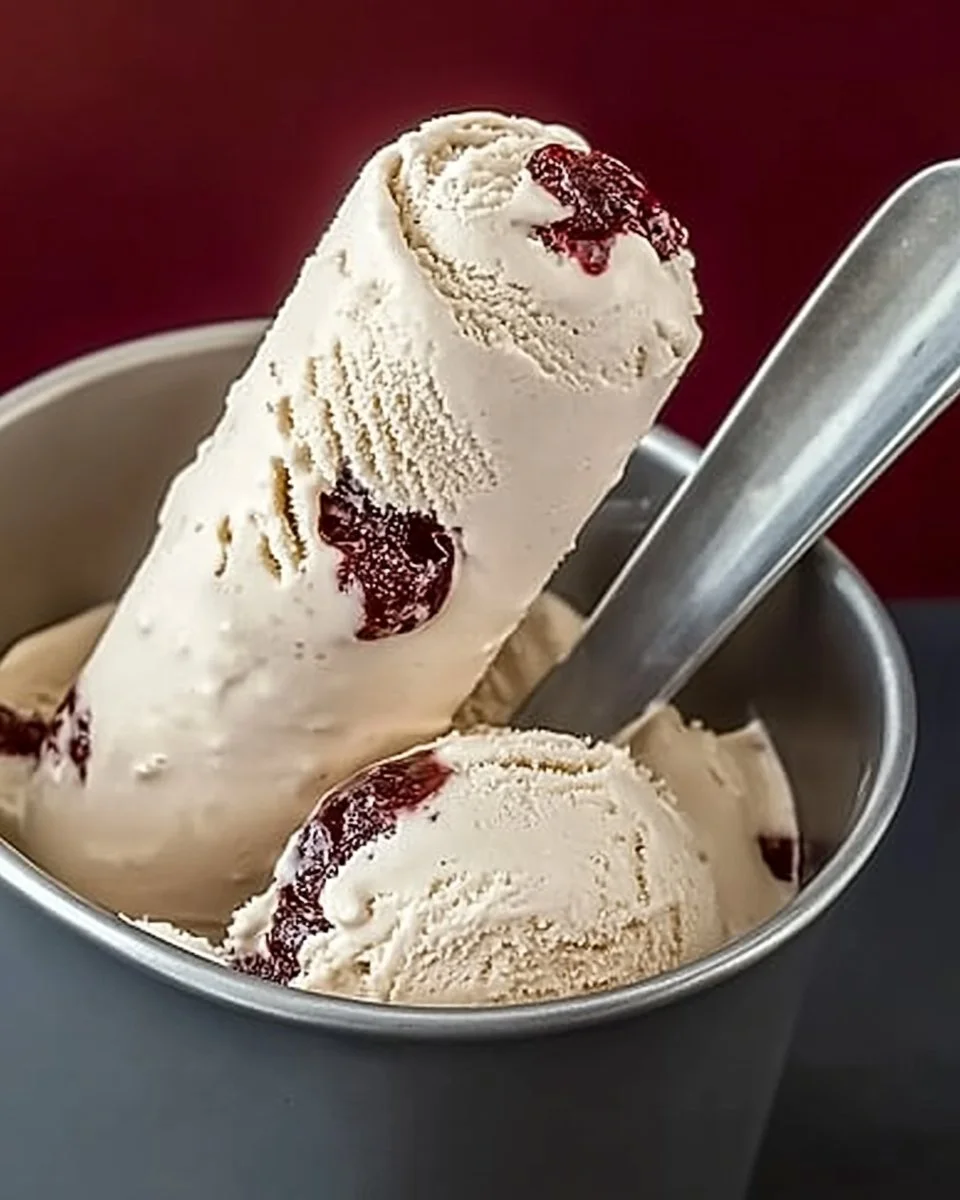
Hot summer days call for deliciously refreshing treats, and there’s nothing quite like a scoop of homemade ice cream to cool you down. Today, we’re diving into a unique and delightful recipe: Dr. Bunny Pepper Ice Cream. This fun twist on traditional ice cream combines the sweet, fizzy flavor of Dr. Pepper with a creamy texture that is simply irresistible. With just a few ingredients and a straightforward process, you’ll have a show-stopping dessert that will impress family and friends alike.
This recipe is perfect for those who love to experiment with flavors and want to try something outside the ordinary. The blend of sweetened condensed milk and fizzy soda not only creates a nostalgic taste but also a rich, creamy texture that makes each bite enjoyable. Let’s jump into the details so you can make this fantastic ice cream at home!
Reasons This Recipe Stands Out
Dr. Bunny Pepper Ice Cream is an absolute winner for several reasons. First and foremost, it’s easy to make! You don’t need to be a culinary expert to whip it up, and it requires minimal preparation time. With just three primary ingredients, it’s also budget-friendly, allowing you to indulge without breaking the bank.
This recipe is incredibly versatile. You can make it for various occasions— family gatherings, summer parties, or an afternoon treat for yourself. Plus, children and adults alike will love this fun flavor combination that is sure to bring smiles around the table. Let’s take a look at how simple the process is!
Process at a Glance
The process of making Dr. Bunny Pepper Ice Cream is refreshingly simple, making it suitable for even novice cooks. You’ll start by mixing sweetened condensed milk with Dr. Pepper, creating a base that is both flavorful and sweet. Next, you’ll whip the heavy cream until it reaches stiff peaks, which provides that creamy texture we all crave in ice cream.
The key is to gently fold the whipped cream into the soda mixture. This method ensures that the air you whipped into the cream remains intact, resulting in a light and fluffy ice cream. Finally, you’ll churn the mixture in your ice cream maker and freeze it until firm. In just a short time, you’ll be ready to serve up this delightful dessert!
Ingredients
- Prep Time: 10 minutes
- Cook Time: 0 minutes
- Total Time: 4 hours 10 minutes (including freezing time)
- Servings: Approximately 4-6 servings
- 14 oz sweetened condensed milk (cold)
- 12 oz can of Dr. Pepper (cold)
- 2 cups cold heavy cream
The ingredients for this ice cream are straightforward. The sweetened condensed milk provides the necessary sweetness and creaminess, while Dr. Pepper offers a unique flavor profile. The cold heavy cream is what gives this ice cream its light and fluffy texture, making each bite a delight.
Step-by-Step Instructions
Making Dr. Bunny Pepper Ice Cream is a breeze, and I’m here to guide you through each step:
Step 1: In a large bowl, combine the cold sweetened condensed milk and the cold Dr. Pepper. Use a whisk to mix them together until well blended. Ensure that there are no lumps, and the mixture is smooth.
Step 2: In another medium bowl, whip the cold heavy cream with an electric mixer. Whip until stiff peaks form. This part is crucial because the whipped cream is what will give the ice cream its fluffy texture.
Step 3: Gently fold the whipped cream into the Dr. Pepper mixture. Use a spatula to combine the two, ensuring you don’t deflate the whipped cream. The goal is a smooth and airy mixture.
Step 4: Once combined, pour the mixture into your ice cream maker. Churn according to the manufacturer’s instructions until it reaches a soft-serve consistency.
Step 5: Transfer the churned ice cream to a container. Seal it tightly and freeze for at least 4 hours, or until it is firm and scoopable.
Helpful Tip: If you don’t have an ice cream maker, you can simply pour the mixture into a freezer-safe container and stir every 30 minutes for the first 2 hours to incorporate air. This will help mimic the churned texture.
Perfect Pairings for Serving
Once your ice cream is ready, it’s time to serve up this delightful treat! There are so many fun ways to enjoy Dr. Bunny Pepper Ice Cream:
- Serve it in a classic ice cream cone or a bowl for a family-friendly treat.
- Add toppings like whipped cream, a drizzle of chocolate or caramel sauce, or even some crushed nuts for added texture.
- This ice cream goes wonderfully with a slice of pie or cake. Picture a warm chocolate cake complemented by a scoop of fizzy ice cream—divine!
- For a festive touch, consider garnishing with maraschino cherries or sprinkles!
- Pair it with a refreshing beverage like iced tea, soda, or a sparkling drink for a fun summer gathering.
Storing and Enjoying Your Ice Cream
Proper storage of your homemade ice cream is essential to maintain its delicious flavor and texture. You’ll want to keep it in a tightly sealed container in the freezer. If you have any leftover ice cream, make sure to cover the surface with plastic wrap before sealing the lid. This helps prevent ice crystals from forming, keeping your ice cream smooth and enjoyable.
Regarding shelf life, homemade ice cream typically lasts about 2-3 weeks in the freezer. However, for the best flavor and texture, try to consume it within the first week.
Expert Recommendations
To ensure your Dr. Bunny Pepper Ice Cream turns out perfectly, here are some pro tips:
- Always use cold ingredients. Chilling your sweetened condensed milk and heavy cream helps achieve a better texture.
- Be gentle when folding the whipped cream. This preserves the airiness, giving your ice cream that lightness.
- Experiment with different sodas! If you love other flavors, try swapping Dr. Pepper with root beer or cream soda for new variations.
Caution: Avoid over-mixing the whipped cream—this can lead to a dense texture, detracting from the overall experience of your ice cream.
Delicious Alternatives You Can Try
If you want to switch things up, here are a few ideas to create your unique ice cream flavors:
- Try using flavored sparkling waters instead of soda for a lighter, fresher taste.
- If you’re not a fan of Dr. Pepper, experiment with other fountain drinks like Cherry Cola or Grape Soda.
- Add in mix-ins such as chocolate chips, crushed cookies, or fruit chunks for an extra layer of flavor and texture.
Questions You May Have
- Can I make this recipe without an ice cream maker?
Yes! Simply pour the mixture into a freezer-safe container and stir every 30 minutes for the first two hours to incorporate some air and prevent ice crystals. - How long does it take to freeze properly?
For the best results, freeze your ice cream for at least 4 hours or until it’s firm. - Can I make it less sweet?
If you prefer a less sweet ice cream, consider reducing the amount of sweetened condensed milk slightly, but keep in mind it may alter the texture. - Is it possible to make a dairy-free version?
Yes, you can use coconut cream or a dairy-free heavy whipping cream substitute and a vegan sweetened condensed milk for a dairy-free option. - What can I do if my ice cream is too hard to scoop?
If your ice cream is too hard, let it sit at room temperature for about 5-10 minutes before scooping. This will help soften it.