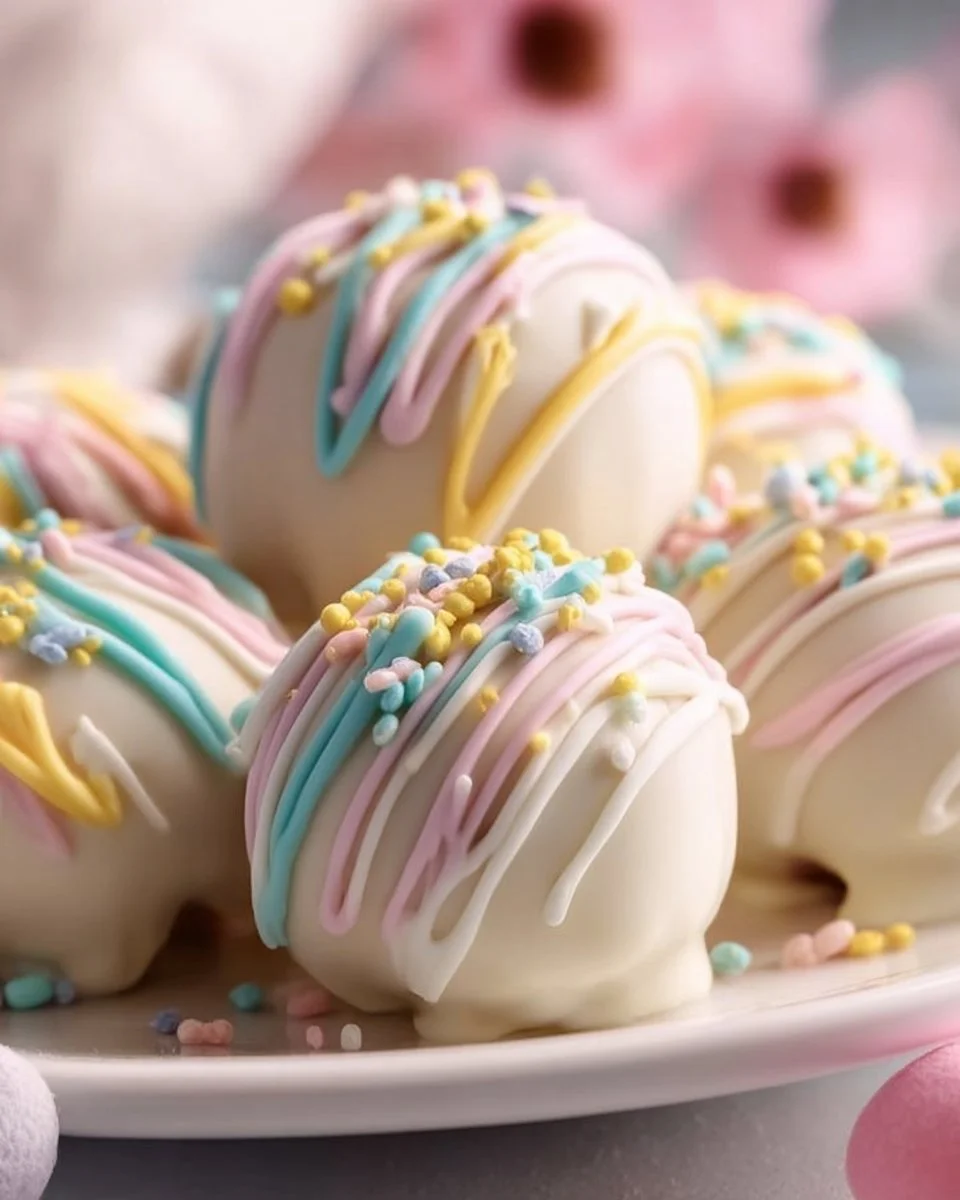
If you’re looking for a delightful dessert that will add a touch of sweetness to your Easter celebration, look no further than these Banana Pudding Easter Truffles. Combining the nostalgic flavors of classic banana pudding with a fun, bite-sized format, these truffles are a sure crowd-pleaser. They’re creamy, indulgent, and incredibly easy to make, making them a perfect choice for springtime gatherings. With the delightful crunch of vanilla wafers and the rich sweetness of chocolate, these truffles will be a hit with both kids and adults alike!
What Makes This Recipe Stand Out
This recipe captivates dessert lovers for many reasons. First and foremost, it’s wonderfully simple. With minimal ingredients and straightforward steps, you can whip up these truffles in no time. They are also budget-friendly, making them accessible for anyone wanting to indulge their sweet tooth without breaking the bank. Not only are they a great option for Easter, but they can also be enjoyed at birthday parties, family gatherings, or just as a special treat for yourself. Additionally, the combination of bananas, cream cheese, and whipped cream creates a luscious creamy texture that is simply irresistible!
How This Recipe Comes Together
Creating these truffles is a breeze! You start by mixing the banana pudding and milk to create a smooth base, then fold in whipped cream and cream cheese for added richness. Once combined, crushed vanilla wafers are gently mixed in, bringing that required crunch. After chilling the mixture, you form them into balls, dip in melted chocolate, and finish them off with sprinkles or more crushed wafers. The entire process is quick and requires no baking, making it perfect for even the busiest of cooks.
Ingredients
Prep Time: 15 minutes
Chill Time: 30 minutes
Total Time: 45 minutes
Servings: About 20 truffles
- 1 cup banana pudding mix
- 2 cups whipped cream
- 1 cup crushed vanilla wafers
- 1/2 cup cream cheese, softened
- 1 cup milk
- 1/2 cup melted chocolate or chocolate coating
- Sprinkles or additional crushed wafers for decoration
The key ingredients here are fairly standard yet essential. The banana pudding mix provides the distinct flavor, while cream cheese adds a creamy tang that complements the sweetness. The crushed vanilla wafers give these truffles their unique texture, returning us to the classic dessert that inspired them.
Step-by-Step Instructions
Follow these straightforward instructions to create your Banana Pudding Easter Truffles:
- In a bowl, combine the banana pudding mix with milk and whisk until smooth. This will form the base of your truffle mixture.
- Next, fold in the whipped cream and softened cream cheese until fully combined. Make sure to mix gently but thoroughly; you want to incorporate air into the whipped cream for a lighter texture.
- Gently mix in the crushed vanilla wafers, but be careful not to over-mix, as you want to preserve some of the crunch.
- Chill the mixture in the refrigerator for about 30 minutes to allow it to set properly.
- Once set, scoop out small portions of the mixture and roll them between your palms to form balls. Aim for about one inch in diameter.
- Dip each truffle into melted chocolate and place it on a parchment-lined baking sheet. Use a fork to help with the dipping process to keep your hands clean.
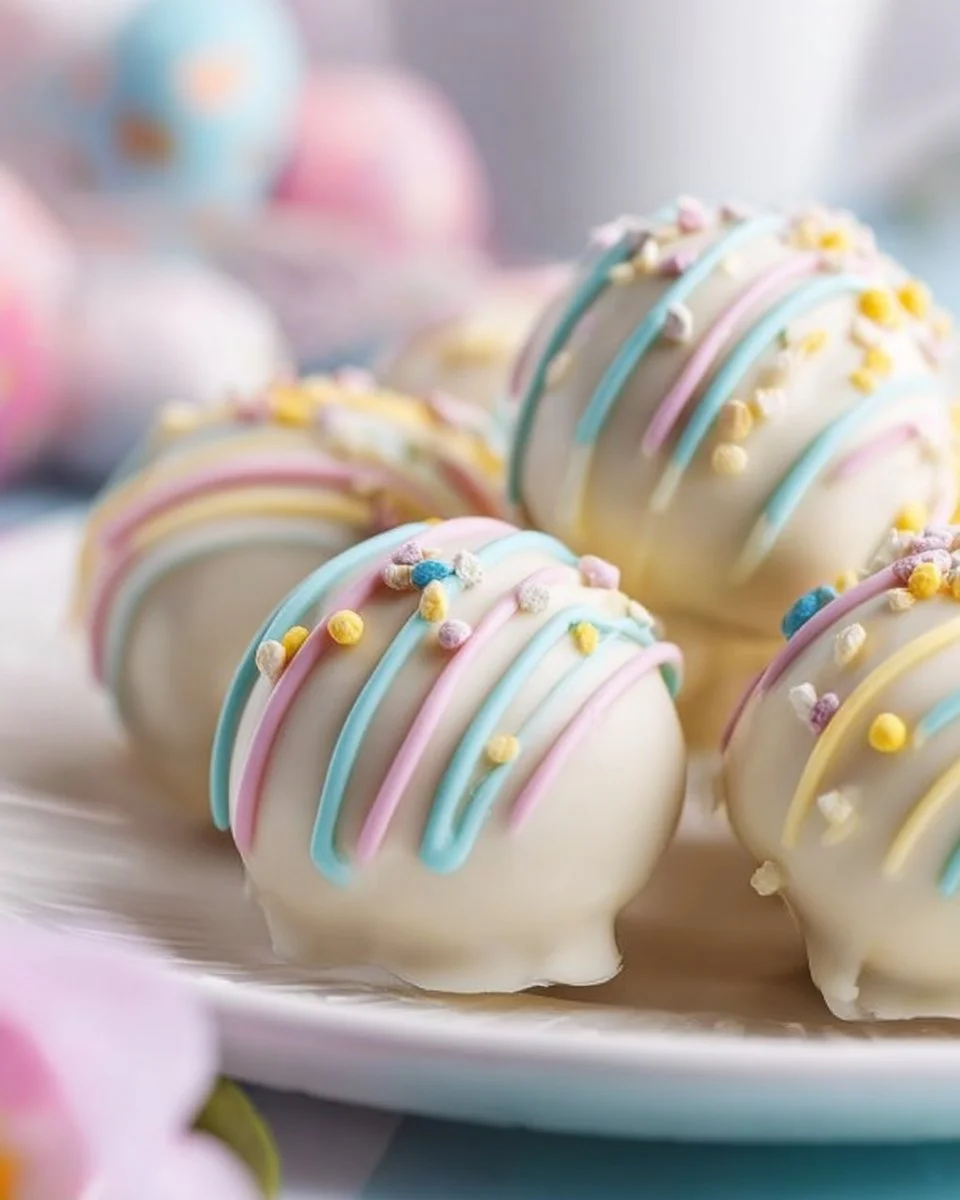
- Before the chocolate hardens, sprinkle with extra crushed wafers or colorful sprinkles for that festive touch.
- Refrigerate until the chocolate sets, then serve these delightful truffles as part of your Easter sweets!
Tips: Make sure your cream cheese is softened to room temperature for easy mixing. You can melt the chocolate in a microwave-safe bowl, stirring in short bursts to avoid burning.
Beautiful Ways to Serve These Truffles
These truffles are perfect for any occasion, but they shine the brightest during Easter! Present them on a decorative plate or in a beautiful basket to create an attractive dessert spread. Pair them with other traditional Easter treats like carrot cake or fruit salad for a well-rounded dessert table. You can also serve them with a chilled glass of milk, coffee, or even a sweet dessert wine for an upscale touch. Whatever your choice, these truffles are sure to steal the show.
Keeping Your Treats Fresh
To store your Banana Pudding Easter Truffles, place them in an airtight container in the refrigerator, where they can last for about a week. They can also be frozen for longer storage. Just lay them flat on a baking sheet until frozen, then transfer to a freezer-safe container. When you want to enjoy them, let them thaw in the refrigerator to preserve the texture.
Expert Tips for Perfection
Here are a few expert tips to ensure your truffles come out perfectly:
- Always use fresh ingredients, especially the cream cheese and whipped cream, for the best flavor.
- When rolling the truffles, you can slightly wet your hands with water to prevent the mixture from sticking to your palms.
- If you’re finding the truffles are too soft to roll, give them an extra chill in the refrigerator before working with them.
- Be cautious with melted chocolate—make sure it’s not too hot, as it can cause the truffles to melt if they come into contact.
Avoid common pitfalls like over-mixing the whipped cream or rushing the chilling process, as these can impact the texture and flavor.
Delicious Variations to Try
If you’re eager to put a twist on this recipe, here are some delicious variations:
- Nutty Banana Truffles: Add finely chopped nuts like pecans or almonds to the mixture before rolling for a crunchy contrast.
- Chocolate Lovers: Substitute half of the banana pudding mix for chocolate pudding mix to create a delightful chocolate-banana fusion.
- Fruit Explosion: Incorporate diced fresh bananas or even diced strawberries for a fresh fruit burst in each bite.
- Flavored Coating: Instead of plain melted chocolate, try using white chocolate or even colored candy melts for a fun twist.
By experimenting with these variations, you can create a unique treat tailored to your tastes!
Common Questions Answered
Can I use instant pudding mix? Yes! Instant pudding mix works perfectly for this recipe. Just make sure to follow the package instructions for mixing.
How long do these truffles need to chill? They should chill for about 30 minutes to set properly before you roll them into balls.
Can I make these truffles in advance? Absolutely! You can make them a day or two ahead so they’re ready to serve when you need them.
What if I don’t have chocolate coating? You can use melted chocolate chips as an alternative for dipping. Just ensure they’re thoroughly melted before use.
Can I use dairy-free ingredients? Yes! Substitute with non-dairy alternatives for whipped cream and cream cheese to make this dessert vegan-friendly.