Introduction
Ever had a dessert that made you stop mid-bite, close your eyes, and say, “Wow!”? That’s exactly what Better Than Anything Bars do. These rich, gooey, chocolatey treats layered with caramel, toffee, and whipped topping live up to their name—and then some. If you’ve never made them, you’re in for a game-changing experience. And if you have, well, this is the version you’ll want to keep coming back to.
This article isn’t just a recipe—it’s a full journey into dessert heaven. Whether you’re a seasoned baker or a curious beginner, we’re going to walk through every delicious detail together.
1. What Are Better Than Anything Bars?
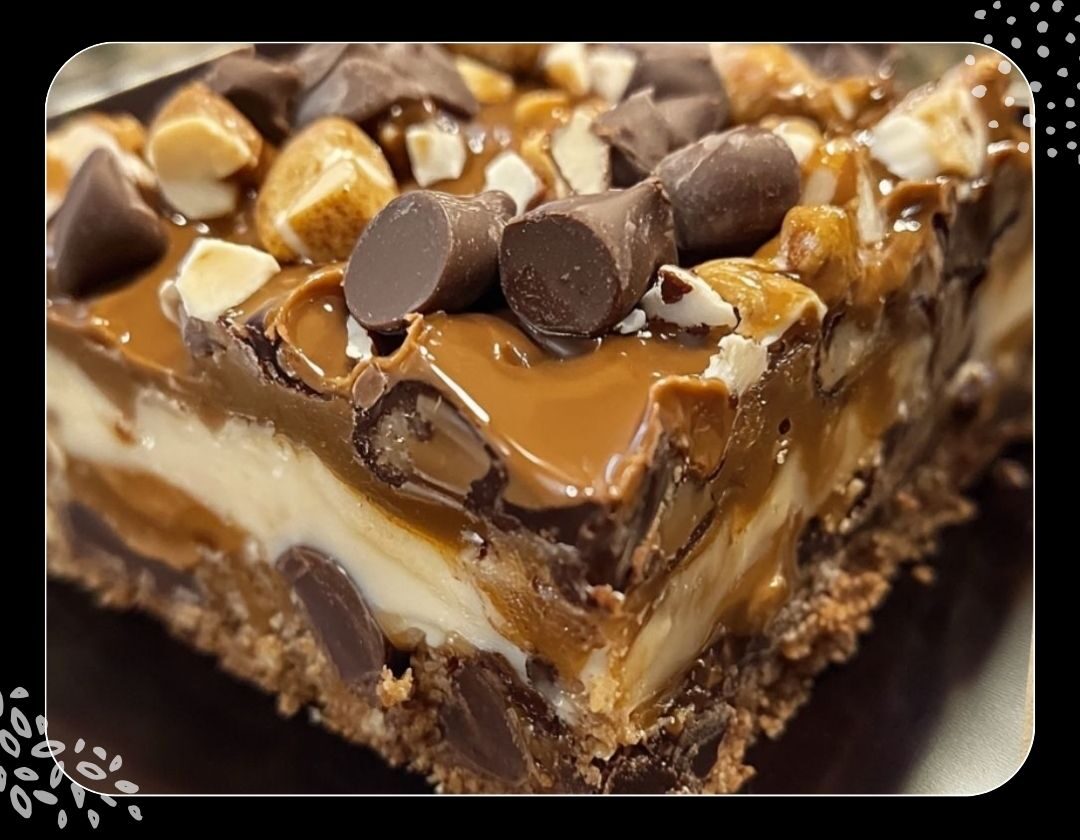
Better Than Anything Bars (also known as better than sex bars) are a decadent layered dessert that combines the best of everything: rich chocolate cake base, gooey caramel, crunchy toffee bits, and a creamy whipped topping. Think of them as a dessert lasagna, but with all your sweet favorites stacked in perfect harmony.
2. Why You’ll Love This Recipe
Super Easy: Just 10 minutes of prep!
No Mixer Required: Just a bowl and a spoon.
Crowd-Pleaser: They’re always the first to disappear at potlucks.
Make-Ahead Friendly: Perfect for prepping the night before.
If comfort food had a queen, these bars would wear the crown.
3. Ingredients Breakdown
Let’s talk ingredients. You probably already have most of them in your pantry:
Chocolate cake mix: Acts as the base. Any brand works.
Unsalted butter (1/2 cup): Adds richness and helps form the crust.
Sweetened condensed milk (1 can, 14 oz): Sticky, sweet, and gooey.
Caramel sauce (1 jar, 12 oz): Brings the melt-in-your-mouth texture.
Crushed toffee bits (1 cup): Adds crunch and deep flavor.
Whipped topping (1 1/2 cups): Lightens it all up at the end.
Mini chocolate chips (1/2 cup, optional): Because, why not?
4. Step-by-Step Instructions
Step 1: Preheat your oven to 350°F (175°C).
Step 2: Grease a 9×13-inch baking dish generously.
Step 3: In a large bowl, mix the chocolate cake mix and melted butter until it forms a thick dough.
Step 4: Press that dough into the bottom of your dish.
Step 5: Bake for 12–15 minutes until the crust sets.
Step 6: Pull it out and immediately pour over the sweetened condensed milk and caramel.
Step 7: Sprinkle half your toffee bits.
Step 8: Return to the oven for 10 more minutes.
Step 9: Let it cool completely. Spread the whipped topping evenly.
Step 10: Garnish with the rest of your toffee and chocolate chips.
Step 11: Chill for at least 2 hours before slicing into dreamy squares.
5. Pro Tips for Perfect Bars
Don’t Overbake the Base: You want it soft but set, not dry.
Use Room Temp Ingredients: They blend better.
Cool Completely Before Adding Topping: Otherwise, it’ll melt and get runny.
Refrigerate Overnight: The flavors marry beautifully after a rest.
6. Customization Ideas
Want to switch things up?
Add crushed pretzels for a salty crunch.
Swap caramel for peanut butter sauce for a Reese’s vibe.
Top with chopped nuts like pecans or almonds.
Use devil’s food cake mix for extra richness.
These bars are like a blank canvas for your sweet imagination.
7. Serving Suggestions
Straight from the fridge for a firm, chilled treat.
Slightly warmed with a scoop of vanilla ice cream (yes, please!).
Cut into mini squares for party bites.
Serve on a platter with drizzled chocolate sauce for extra flair.
8. How to Store & Make Ahead
To Store:
Keep them in an airtight container in the refrigerator. They’ll last up to 5 days.
To Freeze:
Wrap bars individually in plastic and place in a freezer bag. Freeze for up to 2 months. Thaw overnight in the fridge.
Make Ahead Tip:
Bake the base and layer the caramel and toffee, then chill. Add whipped topping right before serving for a fresh finish.
9. Mistakes to Avoid
Using margarine instead of real butter. It just doesn’t taste the same.
Not chilling long enough. They’ll fall apart if not set.
Overloading toppings. Too much can make them soggy.
Skipping the greasing of the pan. You will regret this.
10. Nutritional Information (Per Bar)
| Nutrient | Amount |
|---|---|
| Calories | 300 kcal |
| Total Fat | 16g |
| Saturated Fat | 9g |
| Carbohydrates | 38g |
| Sugar | 28g |
| Protein | 3g |
Remember, they’re indulgent—not diet food. And that’s totally okay.
11. Kid-Friendly Baking Fun
Want to get the kids involved?
Let them press the dough into the pan.
Assign them topping duty—sprinkling toffee and chips.
Teach them the joy of waiting (yes, the chilling step is hard!).
Baking these bars together can become a cherished family tradition.
12. Occasions to Serve These Bars
Better Than Anything Bars fit into every celebration:
Birthday parties
Game nights
Holiday gatherings
Bake sales
Bridal showers
Or just a Friday night binge on the couch!
13. How They Compare to Other Desserts
Vs. Brownies: These are more layered and complex.
Vs. Cookie bars: Sweeter, gooier, richer.
Vs. Cheesecake bars: Less tangy but equally creamy.
They’re not just a dessert—they’re an experience.
14. Reader-Approved Reviews
“I made these for my book club, and there wasn’t a crumb left. Total hit!” – Jenna D.
“Even my husband, who hates sweets, asked for seconds.” – Karla P.
“Easy to make and absolutely sinful. Better than anything? YES.” – Marcus G.
15. Final Thoughts
In a world of endless dessert options, Better Than Anything Bars stand tall. They’re easy to make, endlessly customizable, and truly deliver on flavor. Whether you’re making them for a crowd or just treating yourself, you can’t go wrong with these sweet, sticky, crunchy delights.
So, what are you waiting for? Your taste buds deserve better. They deserve Better Than Anything Bars.
FAQs
1. Can I use homemade caramel sauce instead of jarred?
Yes! Homemade caramel sauce works beautifully and can make the bars even more special.
2. Can I use a different cake mix flavor?
Absolutely. Devil’s food or even vanilla cake mix can give you different variations of this recipe.
3. Are Better Than Anything Bars gluten-free?
Not as written, but you can substitute a gluten-free cake mix to make them celiac-friendly.
4. Can I use real whipped cream instead of whipped topping?
Yes, but make sure it’s stabilized whipped cream so it holds up in the fridge.
5. Can I make these in a smaller pan for thicker bars?
Yes! Try an 8×8 or 9×9-inch pan for fewer but thicker, richer bars. Just increase bake time slightly.
Let these bars be the reason you fall in love with baking all over again. ❤️