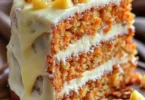
Welcome to the delightful world of baking, where every cake tells a story! Today, I’m excited to share a beloved classic that never fails to impress: Black Forest Cake. This luxurious cake perfectly combines rich chocolate flavors, a sweet cherry compote, and fluffy whipped cream, making it an indulgence for any occasion. Whether you’re celebrating a birthday, an anniversary, or simply craving something sweet, this cake is more than just a dessert; it’s a statement.
With its decadent layers and stunning presentation, Black Forest Cake is not only delicious but also a feast for the eyes. Once you learn how to make it, you’ll find it’s worth every moment spent in the kitchen!
Why This Recipe Works
This Black Forest Cake recipe stands out for several compelling reasons. For starters, it’s straightforward and accessible for bakers of all skill levels. You’ll create a stunning cake that looks elaborate without requiring advanced techniques. The combination of common pantry ingredients means you won’t break the bank, making this indulgent treat budget-friendly.
Merging the robustness of chocolate with the tart sweetness of cherries elevates this dish, attracting everyone from chocolate lovers to fruit fans alike. Plus, the grand presentation ensures it steals the show at any gathering!
A Simple Look at the Cooking Process
Making a Black Forest Cake is a delightful experience that unfolds in several easy steps. First, you’ll combine your dry ingredients and then mix in the wet ones, creating a moist, rich batter. With a little love and precision, this batter transforms into fluffy chocolate layers that bake to perfection.
After cooling, you’ll assemble the cake by adding layers of cherry pie filling and whipped cream, culminating in a beautifully finished dessert. Finally, a brief chill in the refrigerator helps those flavors meld together, ensuring every bite is as tasty as possible!
Ingredients
To create your own Black Forest Cake, gather the following ingredients:
- 2 cups all-purpose flour
- 2 cups granulated sugar
- 3/4 cup unsweetened cocoa powder
- 2 tsp baking powder
- 1 1/2 tsp baking soda
- 1 tsp salt
- 2 eggs
- 1 cup whole milk
- 1/2 cup vegetable oil
- 2 tsp vanilla extract
- 1 cup boiling water
- 1 can cherry pie filling
- Whipped cream for decoration
- Chocolate shavings for decoration
Each ingredient plays a vital role: the flour provides structure, while the cocoa powder delivers that signature chocolate flavor. The cherry filling adds a burst of sweetness, and the whipped cream gives a light, luscious finish alongside decorative chocolate shavings.
Step-by-Step Instructions
- Preheat the oven: Start by preheating your oven to 350°F (175°C). Grease and flour two 9-inch round cake pans to prevent sticking.
- Mix dry ingredients: In a large bowl, combine the flour, sugar, cocoa powder, baking powder, baking soda, and salt. Whisk them together to ensure even distribution.
- Add wet ingredients: To the dry mixture, add the eggs, milk, oil, and vanilla extract. Mix well until everything is thoroughly combined. This is the foundation of your batter! Then, gradually stir in the boiling water until the batter is smooth and well-blended. The boiling water helps to deepen the chocolate flavor.
- Bake the cakes: Pour the batter evenly into the prepared cake pans. Bake for 30-35 minutes or until a toothpick inserted in the center comes out clean. Keep an eye on them to avoid overbaking!
- Cool the cakes: Once baked, allow the cakes to cool in the pans for about 10 minutes. Carefully transfer them to a wire rack and let them cool completely before assembling.
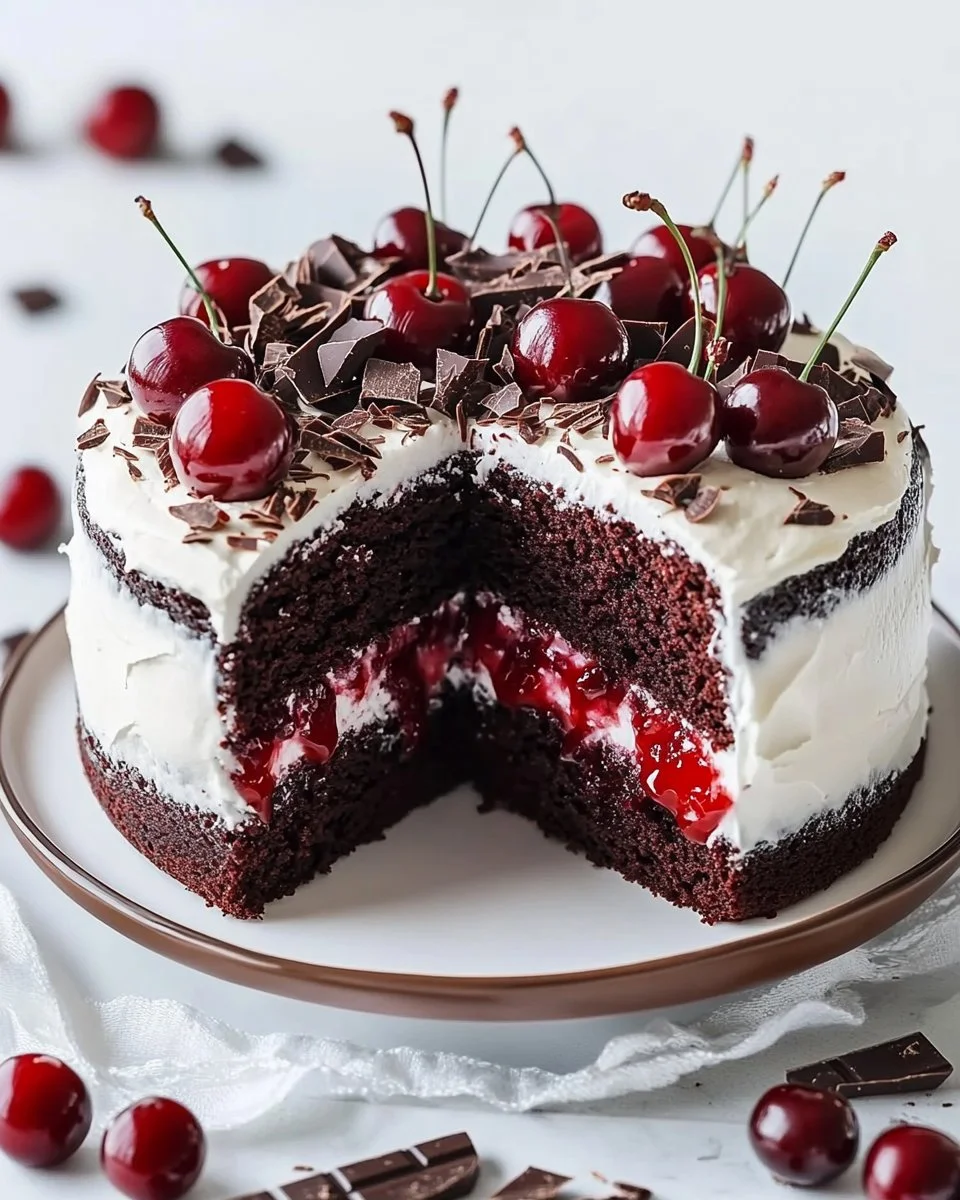
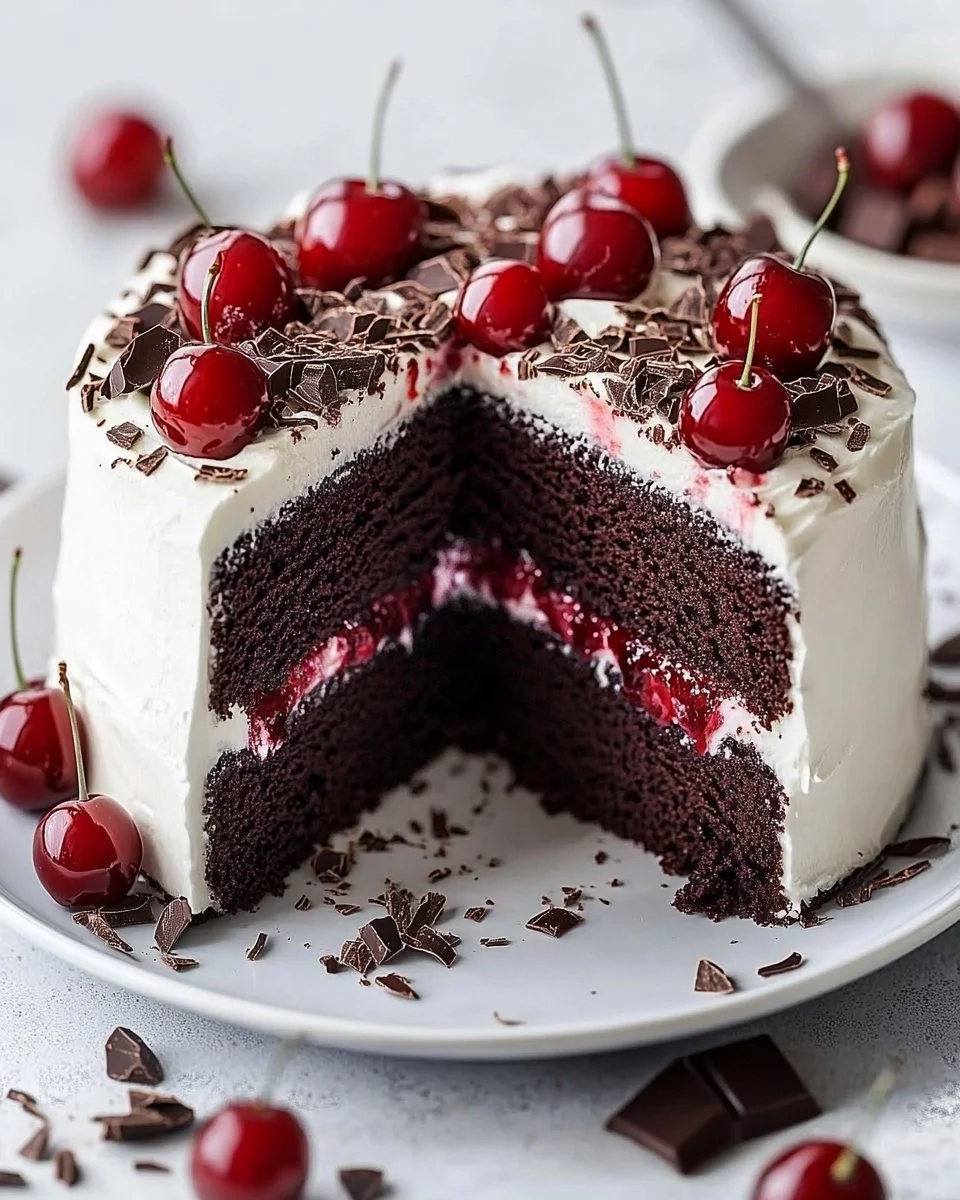
- Assemble the cake: Once your cake layers are completely cooled, place one layer on a serving plate. Spread a generous amount of cherry pie filling over this layer, followed by a layer of whipped cream. Place the second cake layer on top and frost the entire cake with more whipped cream.
- Decorate: Finish off by adorning your cake with chocolate shavings and a few cherries for a gorgeous presentation. Chill the cake for at least an hour before serving, allowing the flavors to meld beautifully.
Remember, patience is key when assembling your cake. Take your time with the layering process for a more visually appealing result!
Delicious Presentation Ideas
When it comes to serving your Black Forest Cake, the possibilities are abundant! This dessert shines best when served on special occasions such as birthdays, anniversaries, or holiday gatherings. Pair it with a dollop of additional whipped cream or even a scoop of vanilla ice cream for an extra indulgent treat.
If you enjoy pairing desserts with drinks, consider serving it with a hot cup of coffee or tea. The richness of chocolate complements the warm beverage perfectly. A sweet red wine can also make for an elegant pairing!
Keeping It Fresh: Storage and Reheating
To keep your Black Forest Cake as fresh as possible, store any leftovers in an airtight container in the refrigerator. This can help maintain the moisture and flavor. Properly stored, it should stay delicious for about 3-5 days.
If you’re looking to enjoy this sweet treat long after its initial creation, consider freezing portions. Wrap each piece tightly with plastic wrap and then place it in a freezer-safe container. For best results, consume frozen cake within three months. To reheat, simply remove a slice from the freezer and let it thaw in the fridge overnight, or indulge in a room-temperature slice right away!
Expert Tips for Success
To make the best Black Forest Cake, here are a few tips to keep in mind:
- Ensure all ingredients are at room temperature before mixing, as this helps create a smoother batter.
- Don’t skip the chilling step after assembling! It allows the flavors to blend beautifully.
- Feel free to taste and adjust the cherry filling to suit your preference.
- When frosting the cake, use a spatula or a piping bag for an enticing decoration.
- Be careful not to overmix the batter once you add the boiling water, as this can affect the cake’s texture.
By following these tips, you’ll be well on your way to mastering this delightful cake!
Game-Changing Variations
If you’re feeling adventurous, consider exploring some variations on this classic recipe:
- Swap the cherries: Use fresh berries or other fruits like raspberries or strawberries for a twist.
- Add liqueur: Drizzle some cherry liqueur or Kirsch on the cake layers for an adult version with depth of flavor.
- Experiment with frosting: Try a cream cheese frosting for a tangy contrast or a dark chocolate ganache for a richer finish.
Feel free to get creative, especially if there are particular flavors you enjoy more!
Common Questions About Black Forest Cake
1. Can I use a box cake mix instead of making it from scratch?
Absolutely! Just follow the boxed cake instructions, and then layer with cherry filling and whipped cream like in this recipe.
2. Is there a gluten-free alternative to this recipe?
Yes, you can substitute all-purpose flour with a gluten-free baking blend. Ensure the blend has a leavening agent included.
3. How do I prevent the cakes from sticking to the pan?
Greasing and flouring the pans well is key. Alternatively, you can use parchment paper at the bottom of the pans.
4. Can I make this cake ahead of time?
Yes! You can bake the cake layers a day ahead and assemble just before serving to keep things fresh.
5. What can I do with leftover cherry pie filling?
Use it to top pancakes, waffles, or yogurt, or add it to smoothies for some extra flavor!