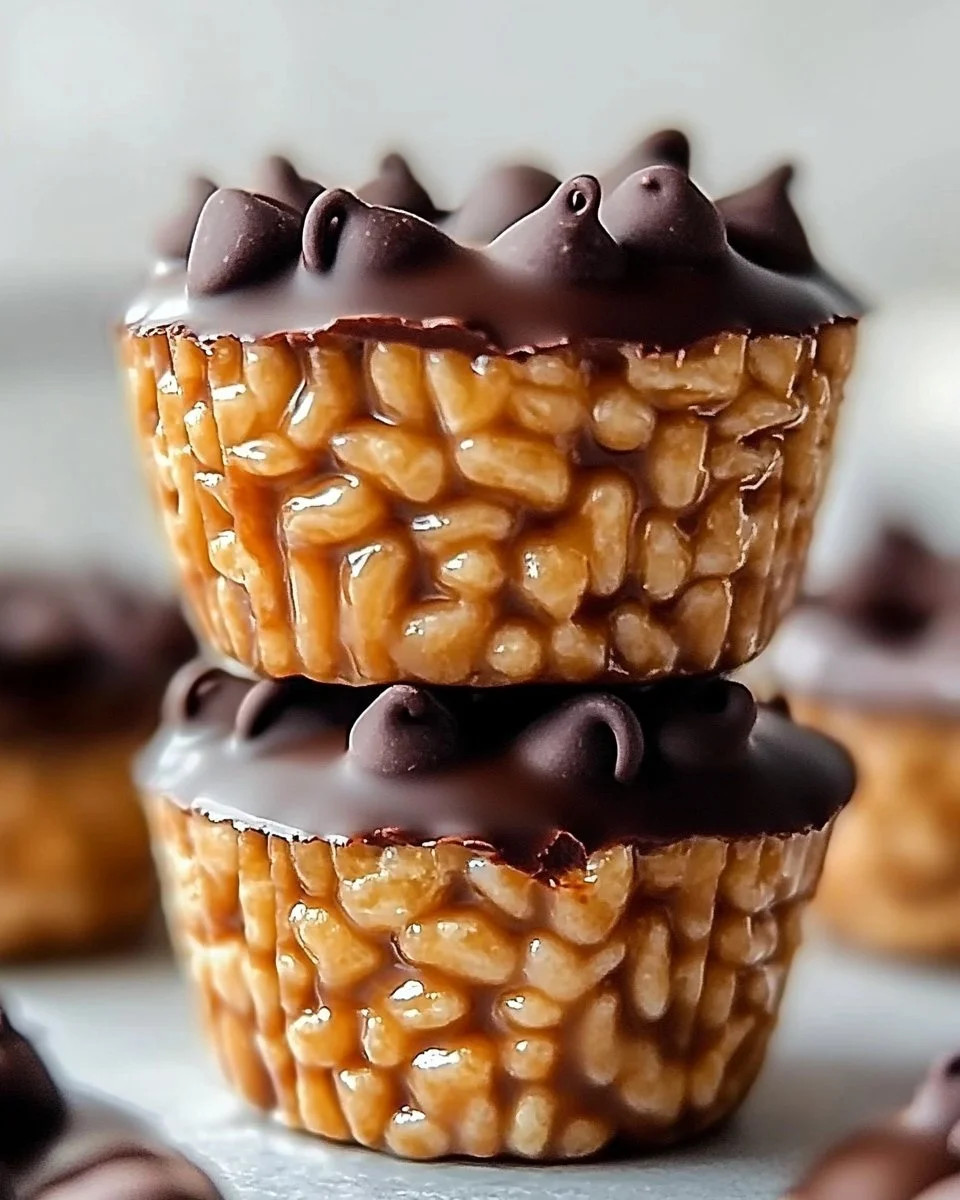
If you’re in the mood for a quick and delightful treat, these Chocolate Peanut Butter Rice Krispie Cups are just what you need! Combining the nostalgic crunch of Rice Krispies with the irresistible duo of chocolate and peanut butter, these cups are as satisfying as they are easy to make. Perfect for a party or a fun family dessert, they strike the right balance between sweet and savory. Plus, they come together in no time, making them a fantastic option for a last-minute treat. Let’s dive into why this recipe is a must-have in your dessert arsenal!
What Makes This Recipe So Good
This dessert works wonders for many reasons. First and foremost, it’s incredibly easy to whip up, even if you’re a novice in the kitchen. The ingredients are straightforward and budget-friendly, meaning you won’t have to break the bank to indulge in this delicious creation. It’s perfect for satisfying sweet cravings without the hassle of baking. In just a few steps, you can create a charming treat that your family and friends will rave about!
A Quick Look at How to Make These Cups
These delightful cups come together in simple steps. Start by mixing the Rice Krispies with creamy peanut butter, honey or corn syrup, brown sugar, and vanilla to form a delicious base. Then, press that mixture into cupcake liners to create the perfect little cups. Next, you’ll melt chocolate chips with a bit more peanut butter and generously spoon it over your Rice Krispie base. After a brief stint in the refrigerator to set, you’ll have a tasty treat that’s ready to enjoy. The entire process doesn’t take long and yields a delightful sweet that promises rich flavors in every bite!
Ingredients
- 3 cups Rice Krispies cereal
- 1/2 cup peanut butter (creamy)
- 1/2 cup honey or corn syrup
- 1/4 cup brown sugar
- 1 teaspoon vanilla extract
- 1 cup semisweet chocolate chips
- 2 tablespoons peanut butter
- Optional: extra mini chocolate chips for topping
Each ingredient contributes something special to the recipe. The Rice Krispies add a delightful crunch, while the creamy peanut butter delivers a rich, nutty flavor that complements the sweetness of the honey or corn syrup and brown sugar. The vanilla extract enhances the overall taste, and the semisweet chocolate chips provide a decadent finish. Those extra mini chocolate chips on top? They’re simply the cherry on the sundae!
Step-by-Step Instructions
Follow these easy steps to create your own Chocolate Peanut Butter Rice Krispie Cups:
- Combine the Base: In a large bowl, combine the Rice Krispies, creamy peanut butter, honey or corn syrup, brown sugar, and vanilla extract. Mix well until every piece of cereal is beautifully coated. This is where the magic starts!
- Create the Cups: Line a muffin tin with cupcake liners. Press the mixture into the bottom of each liner, ensuring to form a cup shape. Use your fingers or the back of a spoon to pack it tightly; this will help them hold together.
- Melt the Chocolate: In a microwave-safe bowl, melt the chocolate chips and 2 tablespoons of peanut butter together in 30-second intervals. Stir in between each interval until the mixture is smooth and creamy, ensuring not to overheat.
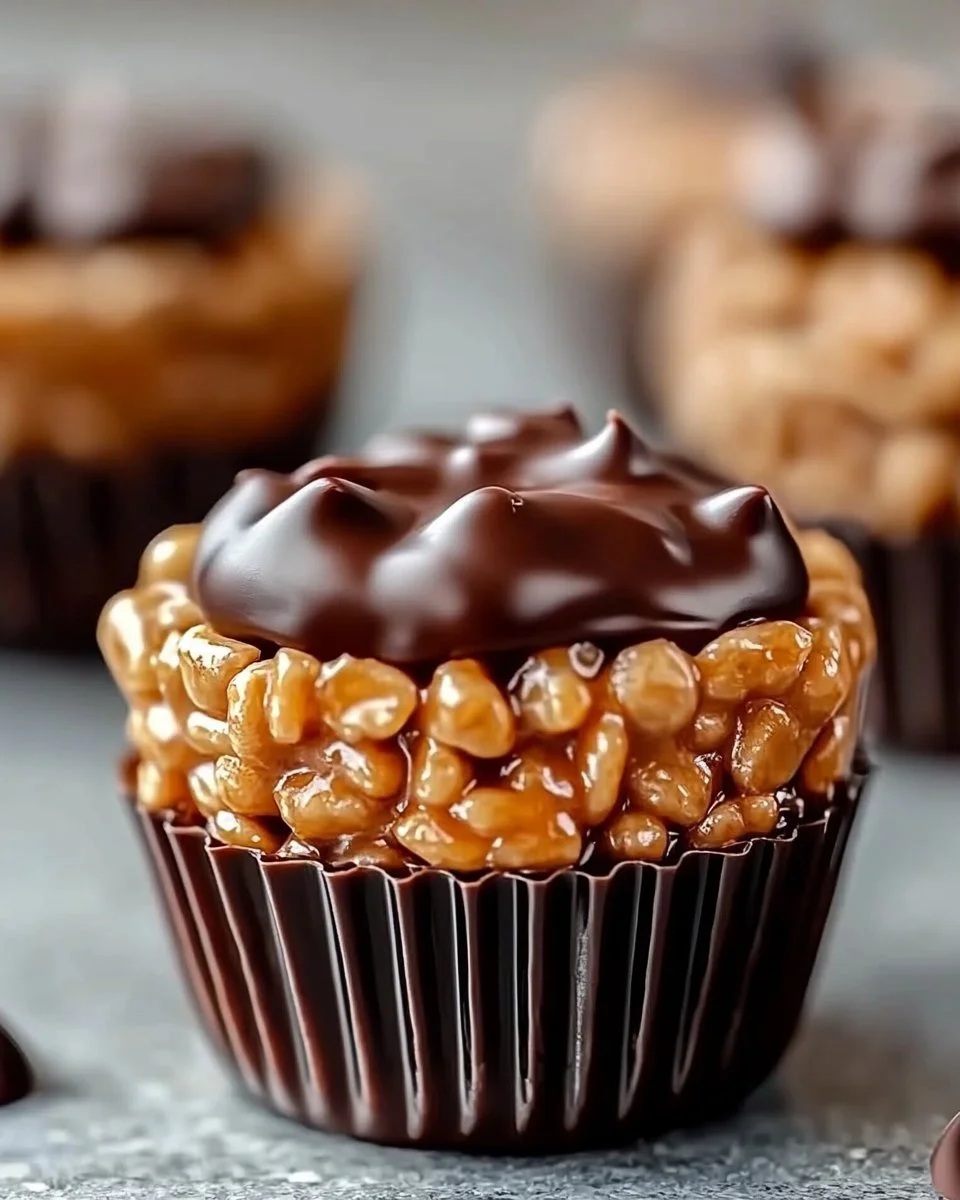
- Assembly Time: Spoon the melted chocolate mixture over the Rice Krispie cups, ensuring to cover them generously. The combination of chocolate and peanut butter is truly heavenly!
- Garnish: If desired, sprinkle extra mini chocolate chips on top for a decorative touch and an extra chocolatey bite.
- Chill Out: Refrigerate the cups for at least 30 minutes until the chocolate is fully set. This step is crucial, as it helps the cups maintain their shape when you bite into them.
- Enjoy: After chilling, your delicious Chocolate Peanut Butter Rice Krispie Cups are ready to be devoured! Share them with family and friends, or savor them all to yourself!
Pro tip: When pressing the mixture into the muffin tin, make sure it’s compact enough to hold its shape after chilling, preventing any crumbling!
Serving Suggestions
These delightful treats are so versatile! Serve them at birthday parties, holiday gatherings, or even just as an after-school snack. Pair these Rice Krispie cups with a glass of cold milk or your favorite iced coffee for an indulgent afternoon treat. They also make for a lovely dessert alongside a scoop of vanilla ice cream or whipped cream. With their sweet and salty profile, they’re sure to please both kids and adults alike!
How to Store and Reheat
Storing your Chocolate Peanut Butter Rice Krispie Cups is easy. Keep them in an airtight container in the refrigerator. They will stay fresh for up to one week – if they last that long! If you’d like to prepare them ahead of time, consider freezing them. Place the cups in a single layer in a freezer-safe container. They can be frozen for up to a month.
When you’re ready to enjoy them after freezing, simply let them thaw in the refrigerator for a few hours or at room temperature for about 30 minutes. There’s no need to reheat them, as enjoying them chilled brings out their delightful textures!
Expert Cooking Tips for Success
Here are some practical tips to ensure your cups turn out perfectly:
- Measure Ingredients Carefully: Precision is key. Accurate measurements will help maintain the right balance of flavors and textures.
- Don’t Rush the Melting: When melting chocolate, take your time. Stirring frequently helps prevent it from burning.
- Clean Tools: Ensure your mixing bowl and tools are dry before starting. Moisture can affect the texture of chocolate.
- Packing the Cups: When forming the Rice Krispie cups, pack them tightly. This will ensure they hold up when you take a bite!
- Chocolate Topping: Feel free to experiment with different types of chocolate, such as dark or milk chocolate, based on your preference.
Creative Variations to Try
This recipe is incredibly flexible, allowing for numerous creative twists! Consider these variations:
- Nut Butters: Mix it up by using almond butter or even sunflower seed butter for a nut-free option.
- Add-Ins: Toss in some mini marshmallows, dried fruits, or nuts for added texture and flavor.
- Chocolate Drizzle: Instead of just melting chocolate, drizzle some melted white chocolate over the top for a beautiful presentation.
- Flavor Extracts: Experiment with different extracts like almond or coconut for a unique twist on flavor.
- Sprinkle Topping: Use crushed nuts, shredded coconut, or rainbow sprinkles on top instead of mini chocolate chips.
Your Questions Answered
Here are some common questions that people often have about this recipe:
- Can I use crunchy peanut butter? Yes, you can! Crunchy peanut butter will add an extra texture to your cups, making them even more delicious.
- How can I make these cups vegan? Substitute honey with agave syrup or maple syrup, and ensure the chocolate chips are dairy-free.
- What can I do if the cups are too crumbly? If this happens, add a bit more peanut butter or honey to help bind the mixture together.
- Can I make a larger batch? Absolutely! Just double or triple the ingredients as necessary, making sure to use multiple muffin tins.
- Are these gluten-free? Yes, Rice Krispies can be gluten-free; just ensure you purchase a gluten-free version if needed.