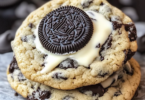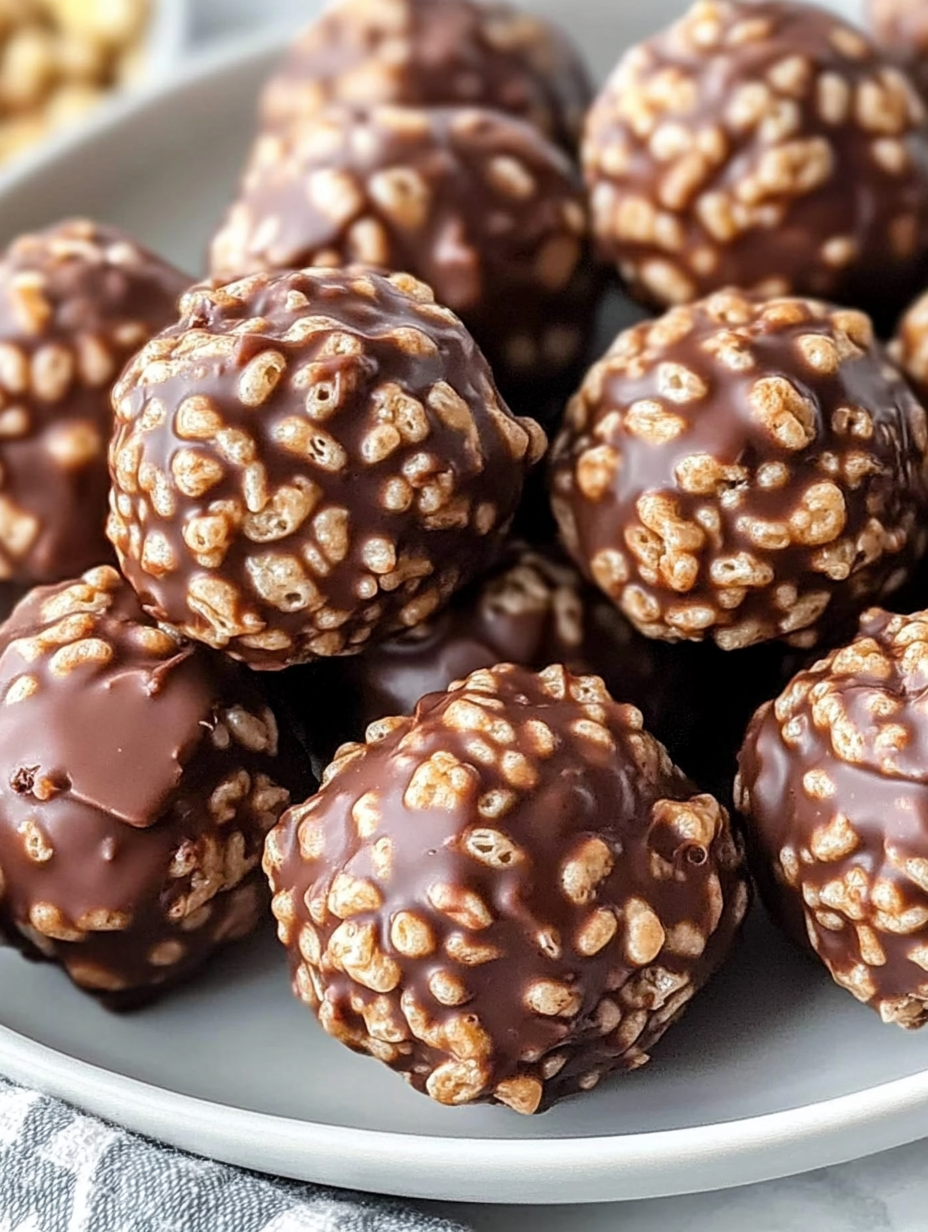
If you’re craving something sweet, crunchy, and ridiculously easy to make, you’re in the right place. Chocolate Rice Krispie Balls are one of those treats that feel fancy but require almost zero baking skills. No oven. No complicated steps. Just simple ingredients and a little mixing.
Have you ever wanted a dessert that’s as fun to make as it is to eat? These bite-sized goodies are like little chocolate snowballs of happiness — crunchy on the outside, rich and chewy on the inside. Whether you’re making them for a party, a holiday tray, or just a late-night snack, they always disappear fast.
Let’s dive in and make your new favorite no-bake dessert.
Table of Contents
| Sr# | Headings |
|---|---|
| 1 | Why You’ll Love Chocolate Rice Krispie Balls |
| 2 | What Makes Them So Popular |
| 3 | Ingredients You’ll Need |
| 4 | Preparation Time, Cook Time & Servings |
| 5 | Step-by-Step Instructions |
| 6 | Tips for Perfect Chocolate Rice Krispie Balls |
| 7 | Flavor Variations You Can Try |
| 8 | How to Store Them Properly |
| 9 | Can You Freeze Chocolate Rice Krispie Balls? |
| 10 | Serving Ideas for Parties and Holidays |
| 11 | Nutritional Overview |
| 12 | Common Mistakes to Avoid |
| 13 | Why This No-Bake Recipe Works |
| 14 | Making Them Kid-Friendly |
| 15 | Final Thoughts |
1. Why You’ll Love Chocolate Rice Krispie Balls
There’s something magical about combining chocolate and crunch. These Chocolate Rice Krispie Balls offer:
No baking required
Quick prep
Simple pantry ingredients
Perfect bite-sized portions
They’re ideal for busy days when you want a homemade dessert without spending hours in the kitchen. Plus, they’re easy enough that even beginners can make them without stress.
2. What Makes Them So Popular
Why do people keep coming back to Chocolate Rice Krispie Balls?
It’s the texture. The crispy cereal adds that satisfying crunch, while the melted chocolate and peanut butter create a creamy, rich center. It’s like a chocolate truffle met a crispy treat and decided to become best friends.
They’re also portable. You can pack them in lunchboxes, bring them to potlucks, or serve them at gatherings without worrying about slicing or utensils.
3. Ingredients You’ll Need
Here’s exactly what you’ll need. No substitutions. No changes.
Ingredients
3 cups Rice Krispies cereal
1 cup chocolate chips (semi-sweet or milk chocolate)
1/2 cup creamy peanut butter (or nut butter of choice)
1/4 cup honey or maple syrup
1/2 tsp vanilla extract
1/4 cup mini chocolate chips (for coating)
Optional: sprinkles or chopped nuts (for garnish)
Simple, right? These everyday ingredients come together beautifully.
4. Preparation Time, Cook Time & Servings
Here’s a quick breakdown to help you plan:
Preparation Time: 15 minutes
Cook Time: 5 minutes
Chill Time: 30 minutes
Total Time: 50 minutes
Servings: Approximately 18–22 balls
Perfect for sharing — or not. I won’t judge.
5. Step-by-Step Instructions
Follow these instructions exactly for perfect Chocolate Rice Krispie Balls every time:
Instructions
In a medium saucepan over low heat, combine the chocolate chips, peanut butter, honey (or maple syrup), and vanilla extract. Stir continuously until the mixture is smooth and melted. Remove from heat.
In a large mixing bowl, add the Rice Krispies cereal. Pour the melted chocolate mixture over the cereal and gently fold to coat the cereal evenly.
Allow the mixture to cool slightly. Once it’s cool enough to handle, use your hands to scoop out about 1 tablespoon of the mixture and roll it into a ball. Repeat until all the mixture is used.
In a small bowl, add the mini chocolate chips (or any desired coating). Roll each Rice Krispie ball in the mini chocolate chips, ensuring they are well coated. You can also sprinkle with additional toppings like sprinkles or chopped nuts.
Place the chocolate Rice Krispie balls on a baking sheet lined with parchment paper. Refrigerate for about 30 minutes to allow them to firm up.
Enjoy!
6. Tips for Perfect Chocolate Rice Krispie Balls
Want flawless results? Keep these tips in mind:
Use low heat when melting chocolate to prevent burning.
Let the mixture cool slightly before shaping.
Lightly grease your hands if the mixture sticks.
Work quickly before the chocolate begins to firm up.
Think of it like working with soft clay — shape while it’s flexible.
7. Flavor Variations You Can Try
While the original Chocolate Rice Krispie Balls are amazing, you can personalize them:
Add a pinch of sea salt for contrast.
Mix in shredded coconut.
Drizzle melted white chocolate on top.
Use dark chocolate for a richer taste.
The base recipe is solid, but creativity makes it yours.
8. How to Store Them Properly
Store your Chocolate Rice Krispie Balls in:
An airtight container
In the refrigerator
For up to 1 week
If stacking them, place parchment paper between layers to prevent sticking.
9. Can You Freeze Chocolate Rice Krispie Balls?
Yes, you absolutely can.
Place them in a freezer-safe container and freeze for up to 2 months. When ready to eat, let them thaw in the refrigerator for a few hours.
They hold their shape beautifully.
10. Serving Ideas for Parties and Holidays
These treats shine at:
Birthday parties
Holiday dessert trays
Baby showers
Bake sales
Game nights
Wrap them in small treat bags or arrange them in decorative boxes for gifting.
11. Nutritional Overview
While Chocolate Rice Krispie Balls are definitely a treat, they offer:
Quick energy from carbs
Protein from peanut butter
Antioxidants from chocolate
Enjoy them in moderation as part of a balanced lifestyle.
12. Common Mistakes to Avoid
Avoid these pitfalls:
Overheating the chocolate
Adding cereal too late (mixture may harden)
Not chilling long enough
Making balls too large
Keep them small and uniform for best results.
13. Why This No-Bake Recipe Works
This recipe works because of balance.
Chocolate provides structure.
Peanut butter adds creaminess.
Honey binds everything together.
Rice Krispies deliver crunch.
It’s like a perfectly balanced team where each player knows their role.
14. Making Them Kid-Friendly
Kids love helping roll the balls and add toppings. You can:
Set up a topping station
Use colorful sprinkles
Let them shape mini versions
It becomes more than dessert — it becomes a fun memory.
15. Final Thoughts
If you’re looking for a quick, crowd-pleasing dessert, Chocolate Rice Krispie Balls are the answer. They’re easy, versatile, and irresistibly delicious. With just a handful of simple ingredients and under an hour from start to finish, you get a treat that tastes like you spent all day in the kitchen.
Sometimes the best desserts are the simplest ones — and these little chocolate bites prove it.
Frequently Asked Questions
1. Can I use a different nut butter instead of peanut butter?
Yes, you can use almond butter, cashew butter, or sunflower seed butter without changing the method.
2. Do Chocolate Rice Krispie Balls need to stay refrigerated?
They’re best stored in the refrigerator to maintain firmness, especially in warm climates.
3. Can I make Chocolate Rice Krispie Balls dairy-free?
Yes, simply use dairy-free chocolate chips and ensure your peanut butter is dairy-free.
4. Why are my Chocolate Rice Krispie Balls falling apart?
This usually happens if the mixture wasn’t fully coated or didn’t chill long enough. Make sure everything is evenly mixed and refrigerated properly.
5. Can I double this recipe?
Absolutely! Just double all ingredients proportionally and follow the same steps.
Now it’s your turn — are you ready to make your own batch of Chocolate Rice Krispie Balls today?