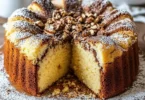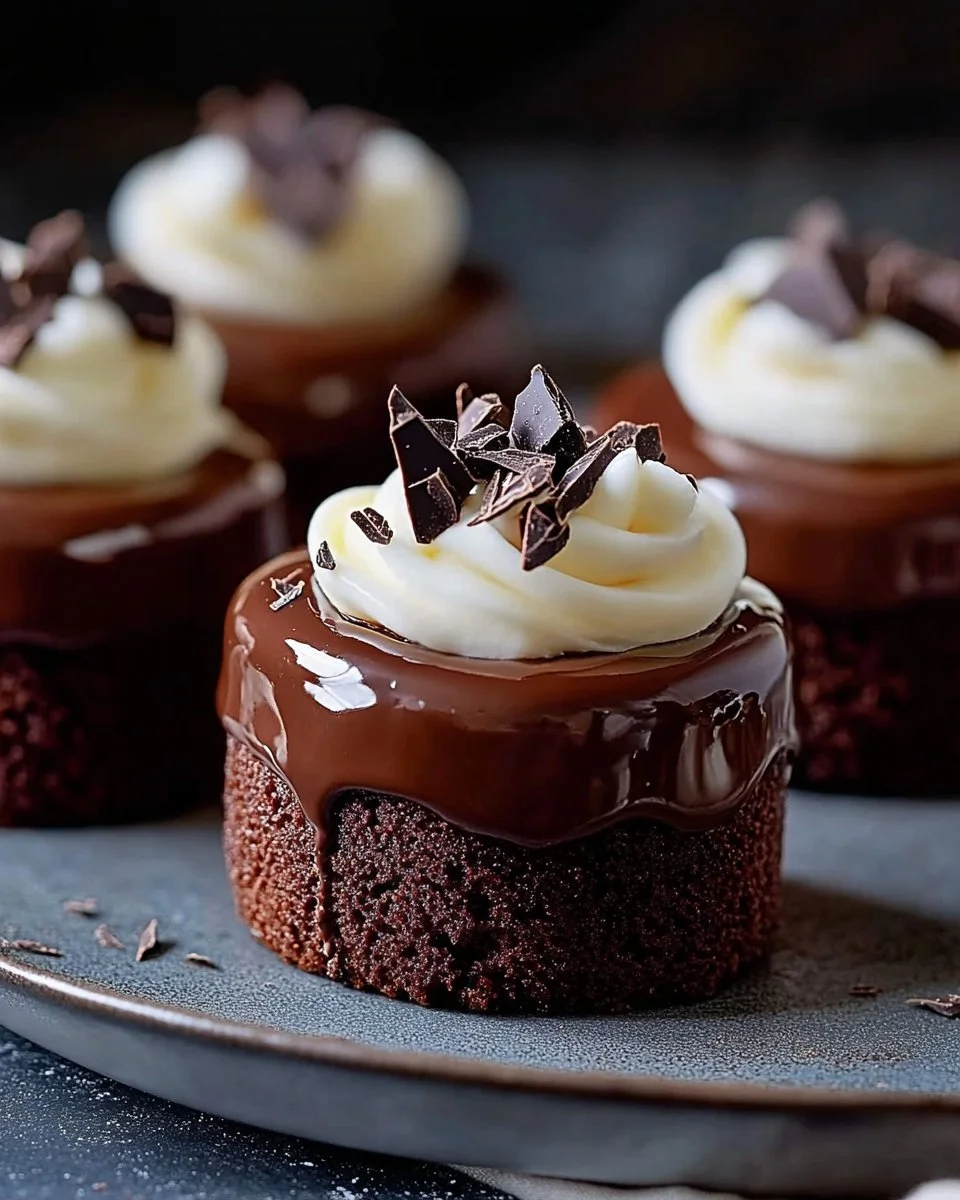
Welcome to the delightful world of mini desserts! If you’re on the hunt for a rich, chocolatey treat that’s perfect for any occasion, look no further than Chocolate Royale Mini Cakes. These bite-sized cakes are a miniature version of indulgence, offering a perfect balance of moist chocolate cake, luscious ganache, and fluffy whipped cream. Not only are they visually appealing, but they also deliver on flavor, making them an instant hit at birthdays, dinner parties, or simply just because. Join me in exploring how you can whip up these charming delights in your own kitchen!
Why These Mini Cakes Stand Out
Chocolate Royale Mini Cakes are the epitome of both simplicity and sophistication. One of the best aspects of this recipe is how it brings together easily accessible ingredients to create a dessert that feels fancy without the fuss. If you’re new to baking, this recipe is forgiving and straightforward, ensuring a delicious outcome every time. On top of that, these mini cakes are budget-friendly, making it easy to indulge without breaking the bank.
A Sneak Peek into the Baking Process
Creating these delectable mini cakes is a delightful journey! The process begins with making the batter, blending together dry ingredients and wet ingredients for a perfect chocolate mixture. After baking, you’ll prepare a silky ganache and whip up some fresh cream. Assembly is the fun part, as you layer the cakes and decorate them for a beautiful presentation. Each step is manageable and rewarding, perfect for bakers of all levels.
Ingredients
To make these sensational Chocolate Royale Mini Cakes, you will need the following ingredients:
- 1 1⁄2 cups all-purpose flour
- 1 tsp baking powder
- 1⁄2 tsp baking soda
- 1⁄4 tsp salt
- 1 cup granulated sugar
- 3⁄4 cup unsweetened cocoa powder
- 2 large eggs
- 1 cup buttermilk
- 1⁄2 cup unsalted butter, melted
- 1 tsp vanilla extract
- 1⁄2 cup boiling water
- 1 cup heavy cream (for ganache)
- 8 oz dark chocolate, chopped
- 2 tbsp unsalted butter (for ganache)
- 1 cup heavy cream (for whipped cream)
- 2 tbsp powdered sugar
- 1 tsp vanilla extract (for whipped cream)
Each ingredient plays a crucial role in the overall flavor and texture. For instance, the buttermilk adds moisture and tenderness, while the dark chocolate ganache elevates the chocolatiness to another level. Cocoa powder gives the cake its deep chocolate flavor, making it an irresistible treat!
Step-by-Step Instructions
Let’s dive into the baking process! Follow these detailed steps to create beautiful mini cakes:
- Preheat the Oven: Start by preheating your oven to 350°F (175°C). Grease and flour a mini cake pan or line it with parchment paper to ensure easy release.
- Make the Cake Batter: In a large mixing bowl, whisk together the flour, baking powder, baking soda, salt, sugar, and cocoa powder until well combined. In another bowl, beat the eggs, buttermilk, melted butter, and vanilla extract until smooth. Gradually add the wet mixture to the dry ingredients, mixing until just combined. Finally, stir in the boiling water carefully; this step will make your batter remarkably thin but super moist.
- Bake the Mini Cakes: Pour the batter into the mini cake pans, filling them about two-thirds full. Bake for 18 to 20 minutes, or until a toothpick inserted in the center comes out clean. Allow the mini cakes to cool completely in the pan before transferring them to a wire rack.
- Make the Ganache: For the ganache, heat 1 cup of cream in a small saucepan until it begins to simmer. Remove the pan from the heat and pour the hot cream over the chopped dark chocolate in a bowl. Stir until smooth and glossy, then mix in 2 tablespoons of butter until fully incorporated. Let the ganache cool slightly to thicken.
- Make the Whipped Cream: In a chilled bowl, beat 1 cup of heavy cream with 2 tablespoons of powdered sugar and 1 teaspoon of vanilla extract until stiff peaks form. This homemade whipped cream adds a creamy touch to your mini cakes.
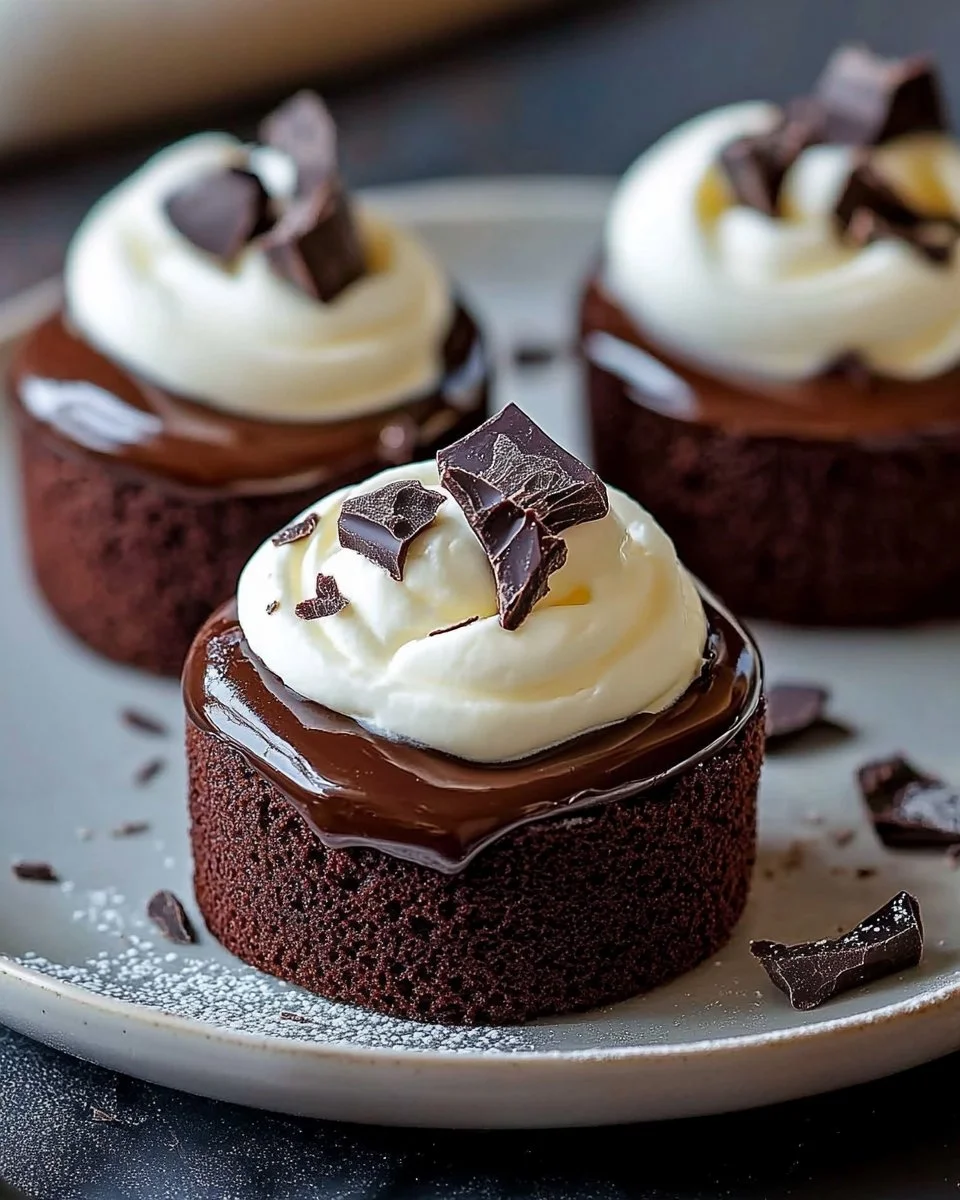
- Assemble the Mini Cakes: Carefully slice each cooled mini cake in half horizontally. Spread a generous amount of whipped cream on the bottom half, then place the top layer on. Spoon the chocolate ganache over the top, allowing it to drizzle down the sides for a beautiful presentation.
- Serve & Enjoy: For an extra meringue touch, consider topping the cakes with a dollop of whipped cream or chocolate curls. Serve immediately and savor every rich, velvety bite!
Throughout the process, remember to take your time and enjoy the journey. Baking is as much about the experience as it is about the end result!
Delicious Ways to Serve These Mini Cakes
These Chocolate Royale Mini Cakes are perfect for a variety of occasions! Here are some suggestions:
- As a dessert centerpiece at dinner parties, adding an elegant touch to your table setting.
- Serve them at birthday celebrations or create a dessert buffet with different toppings and garnishes.
- Pair them with a scoop of vanilla ice cream for a delightful contrast of flavors and textures.
- Complement them with a glass of dessert wine or a rich coffee for an elevated dessert experience.
Overall, these mini cakes are versatile and can be enjoyed in various ways, letting your creativity come to life!
How to Store and Reheat
If you have any leftovers (which is often hard to believe with such a tasty treat), store them properly to maintain their freshness:
- Refrigeration: Place any leftover mini cakes in an airtight container and store them in the fridge for up to 3 days. This helps retain their moisture and flavor.
- Freezing: For longer storage, you can freeze these mini cakes. Wrap them individually in plastic wrap and then place them in a freezer-safe container, where they can last for up to 2 months. When ready to enjoy, thaw them in the refrigerator overnight.
To reheat, place the mini cakes in a preheated oven at 350°F (175°C) for about 5 minutes. This will warm them up without drying them out, keeping their deliciousness intact.
Expert Baking Tips
Baking can be tricky, but these tips will help you achieve the best results:
- Measure ingredients accurately. Use a kitchen scale for the best precision, especially when it comes to flour and sugar.
- Ensure all ingredients are at room temperature before mixing for a smoother batter.
- Do not overmix the batter. Stir just until the ingredients are combined to avoid dense cakes.
- Keep an eye on the baking time. Oven temperatures can vary, so check your cakes a few minutes early.
- Let cakes cool completely before assembling to avoid melting the whipped cream and ganache.
Being mindful of these tips will help you avoid common baking pitfalls and elevate your dessert game.
Creative Variations to Try
While this recipe is fantastic as is, don’t hesitate to experiment with flavors and ingredients to suit your preferences:
- Nutty Delight: Incorporate chopped nuts like walnuts or hazelnuts into the batter for added texture.
- Fruit Twist: Add berries or a layer of fruit preserves between the cake layers for a fruity punch.
- Flavor Infusion: Substitute the vanilla extract with almond extract for a unique flavor dimension.
- Alternative Ganache: Try white chocolate ganache instead of dark chocolate for a different taste experience.
Feel free to explore these variations to create your signature cake while maintaining the essence of this delightful recipe!
Your Questions Answered
- Can I use other types of flour? Yes, you can experiment with gluten-free flour blends or cake flour, but the texture may vary slightly.
- What if I don’t have buttermilk? You can easily make your own by adding 1 tablespoon of lemon juice or vinegar to one cup of regular milk. Let it sit for 5 minutes before using.
- How can I make the ganache quicker? To speed up the cooling process, you can place the bowl with ganache in the refrigerator for a short time, stirring occasionally to prevent it from hardening too much.
- Is there a dairy-free option for this recipe? Yes! Use dairy-free butter and plant-based milk to substitute for buttermilk and cream. Ensure the chocolate is dairy-free as well.
- How can I make the cake gluten-free? Substitute the all-purpose flour with a gluten-free flour blend. Make sure to check that all other ingredients are gluten-free.
These FAQs should help address some common concerns, making the baking process smoother and more enjoyable.