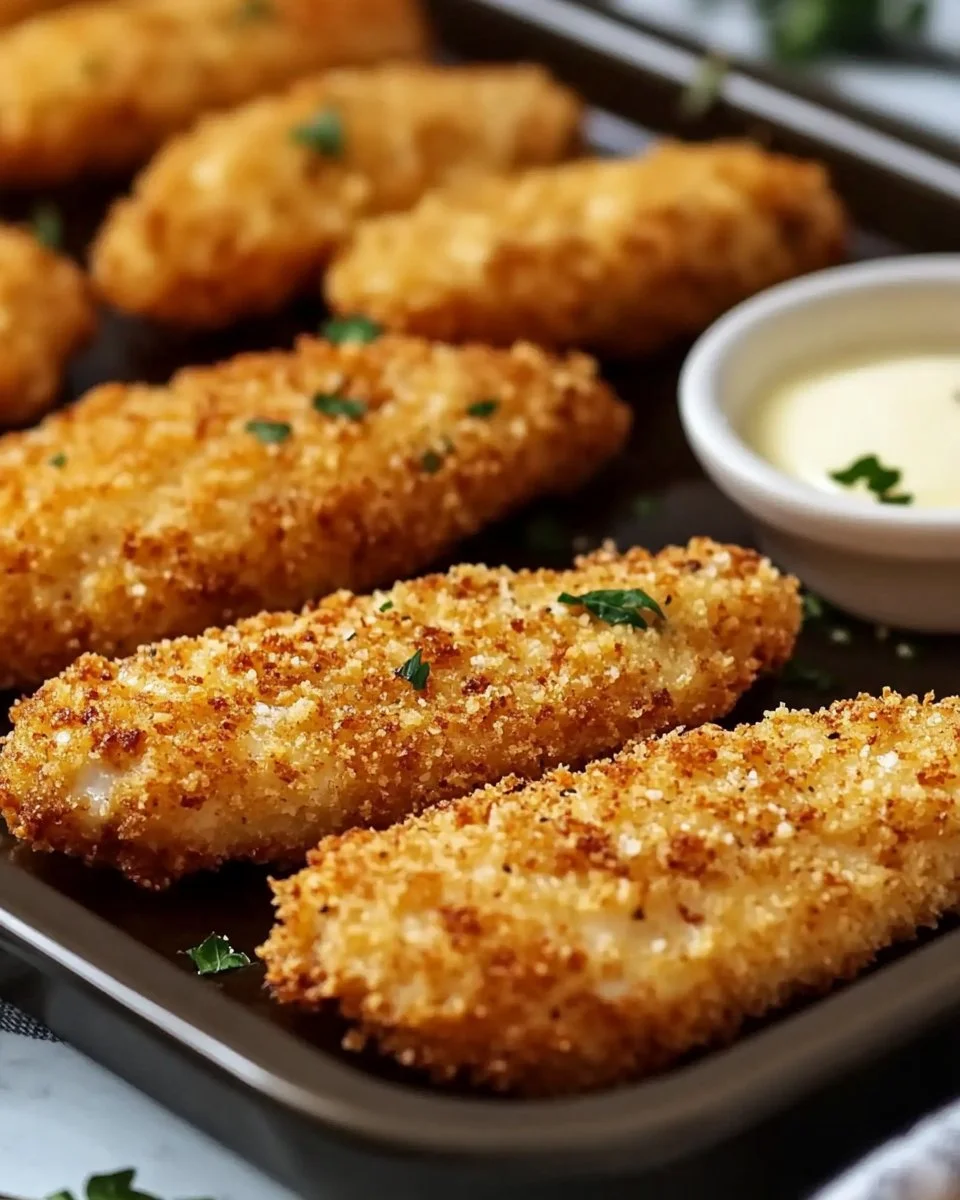
Welcome to a culinary adventure that is bound to become a family favorite! If you’re looking for a delightful dish that combines crispy texture with rich flavor, then you’re going to love this Crispy Buttered Ranch Chicken Recipe. This dish features tender chicken strips coated in a buttery ranch-flavored crumb mixture that results in crispy perfection when baked. Not only is it simple to make, but it’s also incredibly satisfying to eat. Gather your ingredients and get ready to impress your loved ones with this mouthwatering treat!
What Makes This Chicken Recipe Stand Out
What sets this recipe apart is its unique blend of flavors and textures that come together effortlessly. Using common pantry ingredients, this dish is easy to whip up on a weeknight after a busy day at work or school. Plus, with an approximate cooking time of just 25 minutes, you won’t have to spend hours in the kitchen. It’s budget-friendly too, making it an ideal choice for families or anyone looking to satisfy their cravings without breaking the bank. The crispy coating gives you the indulgence of fried food, but with the health benefit of baking!
How This Dish Comes Together
The process of making crispy buttered ranch chicken is straightforward and beginner-friendly. You start by prepping your chicken breasts, cutting them into strips for easy handling and cooking. Once your chicken is ready, you’ll mix up a flavorful panko breadcrumb coating spiced with ranch seasoning and garlic. After dipping the chicken strips in melted butter and then the breadcrumb mixture, they get a nice crunch as they bake in the oven. In less than half an hour, you’ll have a dish that is both visually appealing and delicious!
Ingredients
- 2 large chicken breasts, cut into strips
- 1 packet (1 oz) ranch seasoning mix
- 1 cup panko breadcrumbs
- 1/2 cup grated Parmesan cheese
- 1/2 cup unsalted butter, melted
- 1/2 tsp garlic powder
- 1/2 tsp paprika
- Salt and pepper, to taste
Each ingredient plays a crucial role in making this dish incredibly flavorful. The ranch seasoning mix adds a zesty kick, while the panko breadcrumbs ensure that the chicken strips come out crispy and golden. Using unsalted butter helps control the salt levels, allowing you to season the dish to your preference. This simple list of ingredients means you likely have everything you need right in your kitchen!
Step-by-Step Instructions
1. Preheat your oven to 400°F (200°C). Make sure your oven is fully heated to ensure even cooking.
2. Line a baking sheet with parchment paper or lightly grease it. This step helps prevent sticking and makes cleanup a breeze.
3. In a shallow bowl, combine the panko breadcrumbs, grated Parmesan cheese, ranch seasoning mix, garlic powder, paprika, salt, and pepper. Mix well until everything is evenly distributed.
4. In another bowl, pour the melted butter. This will be used to coat your chicken strips.
5. Take each chicken strip and dip it into the melted butter, ensuring that it’s fully coated. This not only adds flavor but also helps the breadcrumb mixture stick better.
6. Next, dredge the butter-coated chicken strip in the breadcrumb mixture. Press gently to ensure the crumbs adhere well.
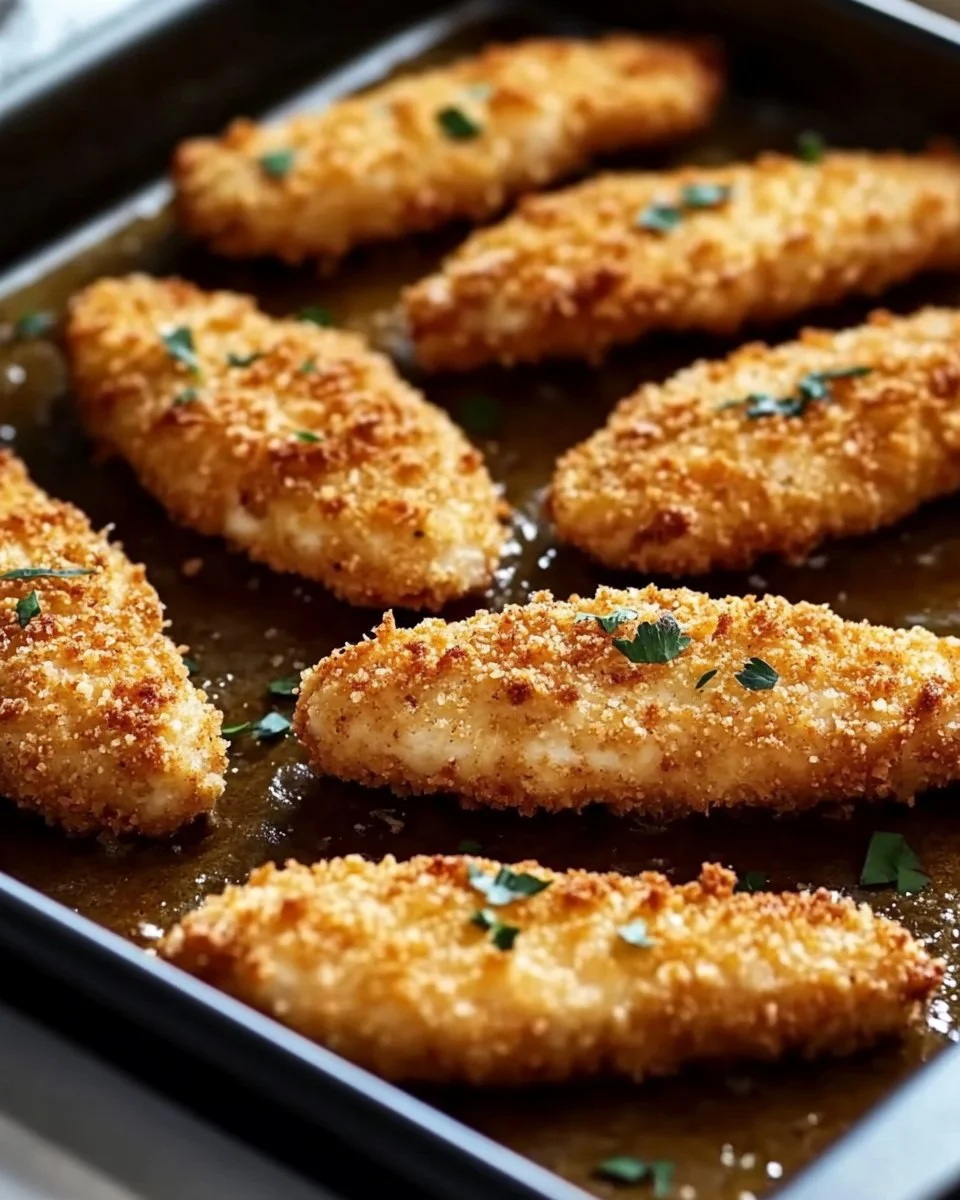
7. Place the coated chicken strips on the prepared baking sheet, ensuring they are not overcrowded. Spacing them out will help them bake evenly and become crispy.
8. Bake in the preheated oven for 20-25 minutes, flipping halfway through. You want them to be golden brown and crispy on both sides.
9. Once cooked, let them rest for a few minutes before serving to lock in the juicy goodness. Enjoy these crispy treats with your favorite dipping sauce!
Delicious Serving Suggestions
These crispy buttered ranch chicken strips can be served in various delightful ways. For a classic touch, why not pair them with a side of creamy ranch dressing or honey mustard for dipping? If you’re in the mood for a heartier meal, serve these chicken strips alongside roasted vegetables or a fresh green salad. They also make for a fantastic addition to a kid’s lunchbox or a quick snack wrapped in a tortilla with some lettuce and tomatoes. For beverages, consider pairing them with a cool glass of lemonade or iced tea to balance the richness of the chicken.
How to Store and Reheat
Any leftovers should be stored in an airtight container in the refrigerator. They will stay fresh for about 3 to 4 days. If you want to keep them longer, consider freezing them. Lay the cooked chicken strips on a baking sheet in a single layer and freeze until solid, then transfer them to a freezer-safe bag. They can last in the freezer for up to 3 months.
To reheat, the oven is your best bet for keeping their original crispy texture. Preheat your oven to 350°F (175°C) and place the chicken strips on a baking sheet. Heat for about 10-15 minutes, or until warmed through and crispy. You can also use an air fryer for a quick reheating option that will keep them crunchy!
Expert Cooking Tips
To make sure your chicken strips turn out perfectly every time, here are some handy tips:
- Make sure to cut your chicken breasts into even strips for uniform cooking.
- Don’t skip the resting period after baking; it helps the juices redistribute.
- For extra crispiness, consider double-dipping the chicken in butter and breadcrumbs.
- Watch carefully towards the end of the cooking time to prevent over-browning.
- Feel free to experiment with seasoning blends to suit your taste preferences.
Useful Variations to Try
This recipe is versatile, and you can easily switch things up by adding different ingredients. Here are a few ideas:
- Try using different seasoning blends, such as Italian or Cajun, to give your chicken some new flavors.
- For a spicy kick, mix in some cayenne pepper or crushed red pepper flakes into the breadcrumb mixture.
- If you’re looking for a gluten-free option, swap panko breadcrumbs with crushed gluten-free crackers or almond flour.
- Add a sprinkle of finely chopped herbs like parsley or basil to the breadcrumb mixture for an extra layer of flavor.
Common Questions Answered
1. Can I use chicken thighs instead of chicken breasts?
Absolutely! Chicken thighs will also work wonderfully and can add a bit more juiciness to the dish.
2. Is it possible to bake these chicken strips at a different temperature?
While this recipe calls for 400°F (200°C), you can bake them at 375°F (190°C); just be sure to check for doneness.
3. Can these chicken strips be made ahead of time?
Yes! You can prepare the chicken strips and coat them in the breadcrumb mixture a few hours in advance and store them in the fridge until ready to bake.
4. What dipping sauces pair best with these chicken strips?
Classic ranch, BBQ sauce, or sweet and sour sauce are fantastic choices to serve alongside these strips!
5. Can I air fry these instead of baking?
Yes! Air frying works great for this recipe. Preheat your air fryer to 400°F (200°C) and cook the chicken strips for about 10-12 minutes, flipping halfway through.