There’s something deeply comforting about Homemade Chocolate Sauce. It’s like a warm hug in dessert form—simple, familiar, and endlessly versatile. Whether you’re drizzling it over ice cream, pouring it onto pancakes, or sneaking a spoonful straight from the bowl (no judgment here), this sauce turns everyday treats into something special.
Have you ever flipped over a store-bought chocolate sauce bottle and felt overwhelmed by the long list of ingredients you can’t pronounce? Making chocolate sauce at home solves that problem beautifully. With just a handful of pantry staples and a little patience, you can create a glossy, rich sauce that tastes fresher and more chocolatey than anything from the shelf.
In this guide, I’ll walk you through everything you need to know about Homemade Chocolate Sauce—from preparation times and exact instructions to storage tips, serving ideas, and common mistakes to avoid. Think of this article as your friendly kitchen companion, standing next to you while the saucepan gently bubbles away.
Table of Contents
| Sr# | Headings |
|---|---|
| 1 | What Is Homemade Chocolate Sauce? |
| 2 | Why Make Chocolate Sauce at Home? |
| 3 | Ingredients Overview |
| 4 | Exact Ingredients List |
| 5 | Preparation Time, Cook Time, and Servings |
| 6 | Kitchen Tools You’ll Need |
| 7 | Step-by-Step Instructions Explained |
| 8 | Why Low Heat Matters |
| 9 | The Role of Each Ingredient |
| 10 | Texture, Consistency, and Thickness Tips |
| 11 | Serving Ideas for Homemade Chocolate Sauce |
| 12 | How to Store and Refrigerate Chocolate Sauce |
| 13 | Common Mistakes and How to Avoid Them |
| 14 | Homemade vs Store-Bought Chocolate Sauce |
| 15 | Final Thoughts on Homemade Chocolate Sauce |
What Is Homemade Chocolate Sauce?
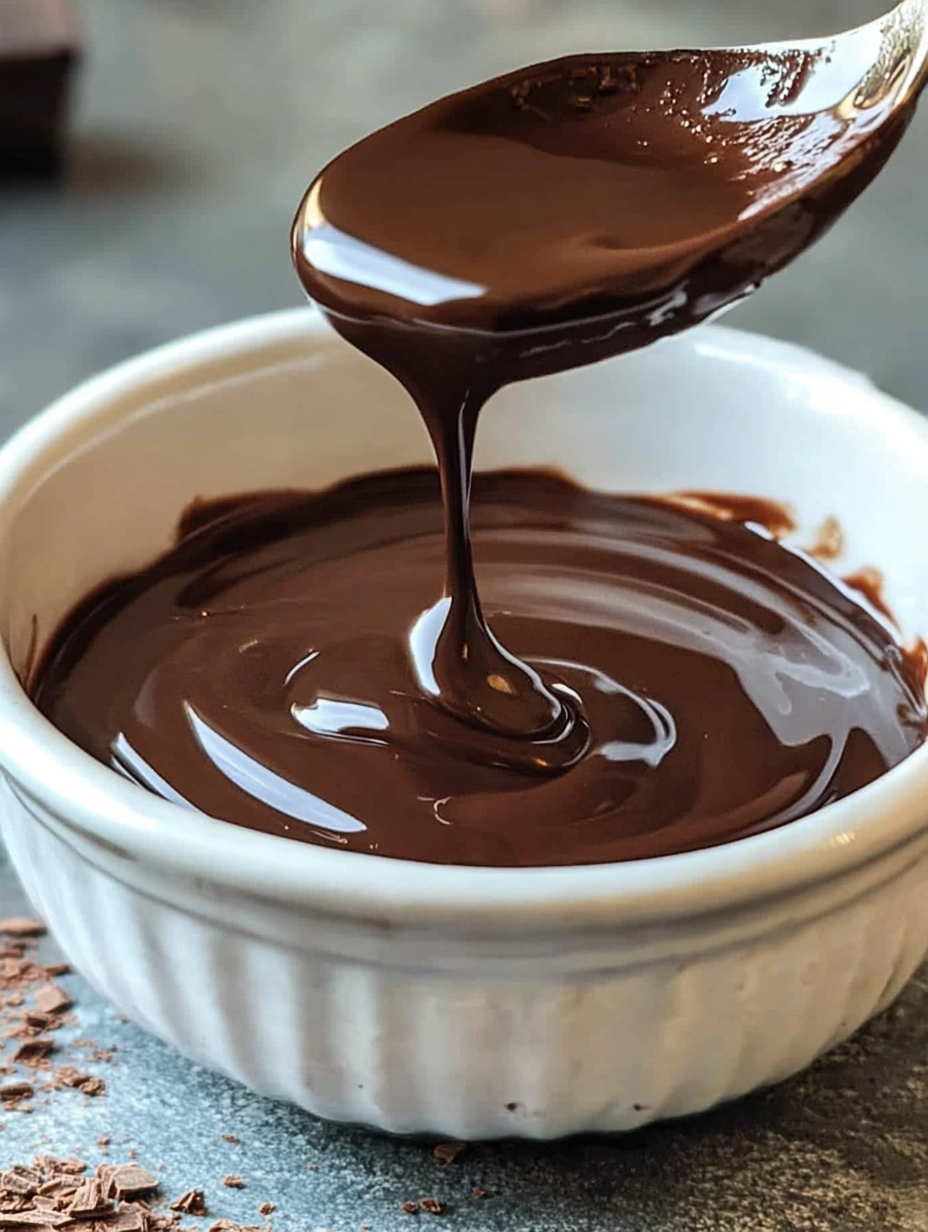
Homemade Chocolate Sauce is a smooth, glossy sauce made from basic ingredients like cocoa powder, sugar, milk, and butter. Unlike chocolate syrup, which is often thinner and heavily processed, chocolate sauce is richer and more indulgent.
Think of it like the difference between fresh-squeezed juice and something from a carton. Both do the job, but one clearly tastes more alive. Homemade chocolate sauce has depth, warmth, and a real cocoa flavor that shines through.
Why Make Chocolate Sauce at Home?
Why go through the effort when you can just buy a bottle? Fair question. But here’s the thing—making chocolate sauce at home is surprisingly easy, and the payoff is huge.
You control the ingredients, the sweetness, and the texture. There are no preservatives, no artificial flavors, and no mystery additives. Plus, there’s something satisfying about stirring a saucepan and watching simple ingredients transform into something luxurious. It’s like kitchen magic, minus the wand.
Ingredients Overview
One of the best parts about this Homemade Chocolate Sauce recipe is its simplicity. You don’t need fancy chocolate bars or specialty items. Everything here is likely already sitting in your kitchen.
The ingredients work together like a small orchestra—each one has a role, and when combined correctly, they create a smooth, balanced sauce that’s rich without being heavy.
Exact Ingredients List
Ingredients
1 cup white sugar
1/2 cup cocoa powder
1 tablespoon flour
1 cup milk (250ml)
1 tablespoon unsalted butter
Instructions
Sieve cocoa powder and flour, then whisk well.
In a saucepan, add sugar, then add the cocoa powder mixture you just sieved. Mix everything well together.
Add milk and stir until the dry and wet ingredients are combined.
On low heat, place the saucepan on the stove and keep stirring until the sauce reaches a thick consistency. This will take 10-15 minutes.
Add butter 3 minutes before switching off the stove. Mix it in very well.
Transfer it into a container or glass bowl. Let it cool off. Keep it refrigerated.
Enjoy!
(Ingredients and instructions are kept exactly the same, as requested.)
Preparation Time, Cook Time, and Servings
Preparation Time: 5 minutes
Cook Time: 10–15 minutes
Total Time: 20 minutes
Servings: About 1½ cups of chocolate sauce (approximately 8 servings)
This makes it perfect for both quick desserts and make-ahead treats.
Kitchen Tools You’ll Need
You don’t need a professional kitchen setup for this recipe. Just a few basics will do:
Saucepan – Medium-sized works best
Whisk – For smooth mixing
Sieve – To avoid lumps
Spatula or spoon – For constant stirring
Glass bowl or container – For storage
Simple tools, big results.
Step-by-Step Instructions Explained
While the instructions are straightforward, understanding why each step matters makes all the difference.
Sieving the cocoa powder and flour removes lumps, ensuring a silky texture. Skipping this step is like trying to paint with a clumpy brush—it just won’t be smooth.
Mixing dry ingredients first helps distribute the cocoa evenly, so you don’t end up with bitter patches.
Cooking on low heat allows the sauce to thicken gently without burning. This is a slow dance, not a sprint.
Why Low Heat Matters
Low heat is the unsung hero of this recipe. High heat can scorch the cocoa, leaving a bitter taste and grainy texture. By keeping the heat low and stirring constantly, you allow the sauce to thicken naturally and evenly.
Think of it like melting snow into water—you want it gradual, not rushed.
The Role of Each Ingredient
Every ingredient in this Homemade Chocolate Sauce has a purpose:
White sugar provides sweetness and structure
Cocoa powder delivers deep chocolate flavor
Flour helps thicken the sauce
Milk adds creaminess and balance
Unsalted butter adds shine and richness
Remove one, and the sauce loses its harmony.
Texture, Consistency, and Thickness Tips
The sauce thickens as it cools, so don’t worry if it seems slightly thin on the stove. If you like a pourable sauce, stop cooking a bit earlier. For a thicker, fudge-like consistency, let it cook the full 15 minutes.
Consistency is personal—like choosing between a cozy sweater or a light jacket.
Serving Ideas for Homemade Chocolate Sauce
This sauce is incredibly versatile. Try it:
Drizzled over ice cream or gelato
Poured onto pancakes or waffles
Used as a cake filling or topping
Swirled into milk or coffee
Served with fresh fruit
It’s a kitchen multitasker you’ll reach for again and again.
How to Store and Refrigerate Chocolate Sauce
Once cooled, transfer the sauce to a glass container and refrigerate. It will keep well for up to 2 weeks.
When chilled, it will thicken. Simply warm it slightly before serving to bring back that silky texture.
Common Mistakes and How to Avoid Them
Not stirring constantly: This can cause burning
Using high heat: Leads to bitterness
Skipping sieving: Results in lumps
Take your time—good chocolate sauce rewards patience.
Homemade vs Store-Bought Chocolate Sauce
Store-bought sauces are convenient, sure. But homemade wins in flavor, freshness, and control. Once you taste the difference, it’s hard to go back.
It’s like comparing a handwritten letter to a printed flyer—both communicate, but one feels more personal.
Final Thoughts on Homemade Chocolate Sauce
Making Homemade Chocolate Sauce is simple, satisfying, and deeply rewarding. With just a few ingredients and a little care, you can create a sauce that elevates everyday desserts into memorable treats. It’s proof that sometimes, the simplest recipes are the most powerful.
Frequently Asked Questions
Can I use this Homemade Chocolate Sauce hot or cold?
Yes, it works beautifully both ways. Warm it for drizzling or use it cold as a thick topping.
How long does homemade chocolate sauce last in the fridge?
Stored properly in a sealed container, it lasts up to two weeks.
Why does my chocolate sauce thicken after cooling?
Cooling allows the flour and cocoa to fully set, naturally thickening the sauce.
Can I reheat homemade chocolate sauce?
Absolutely. Gently reheat it on low heat or in the microwave, stirring well.
Is Homemade Chocolate Sauce better than syrup?
For flavor and texture, yes. It’s richer, fresher, and more customizable.
If you’ve never made chocolate sauce from scratch before, this is your sign. Grab that saucepan, take it slow, and enjoy every chocolatey moment 🍫