Are you ready to enjoy a sweet treat that requires no oven and delivers a delightful crunch? Look no further than the No-Bake Marshmallow Slice! This scrumptious dessert is perfect for all ages and a fantastic way to indulge your sweet tooth without the fuss of baking. Whether it’s for a birthday party, a cozy family gathering, or just a mid-week pick-me-up, this treat is sure to impress. With a simple combination of flavors and textures, the No-Bake Marshmallow Slice is a favorite among food lovers everywhere.
What Makes This Recipe So Good
This recipe stands out for several reasons. First and foremost, it’s incredibly easy to prepare. You don’t need any special kitchen skills or fancy equipment; just a mixing bowl and a few utensils. Additionally, this recipe is quick, allowing you to whip it up in no time. It’s also budget-friendly, having ingredients that are often staples in most pantries. That means you can satisfy your cravings without breaking the bank. Plus, who doesn’t love a layered slice packed with soft marshmallows and crispy treats? It’s a guaranteed crowd-pleaser!
Understanding the Magic of This Simple Recipe
Creating the No-Bake Marshmallow Slice is straightforward. You start by combining the base ingredients, creating a rich mixture that forms the structure of the slice. This mixture is then layered with fluffy marshmallows, providing an amazing contrast of textures. The entire process involves mixing, pressing, and chilling, making it a perfect recipe for beginner bakers. By following these simple steps, you will achieve a delicious dessert that will impress your friends and family.
Ingredients
To make this delightful No-Bake Marshmallow Slice, you will need the following ingredients:
- 250g (about 9 oz) of digestive biscuits or graham crackers, crushed
- 200g (about 7 oz) of unsweetened cocoa powder
- 200g (about 7 oz) of unsalted butter, melted
- 300g (about 10.5 oz) of mini marshmallows
- 100g (about 3.5 oz) of desiccated coconut
- 1 cup of icing sugar, sifted
- Optional: a pinch of salt to balance flavors
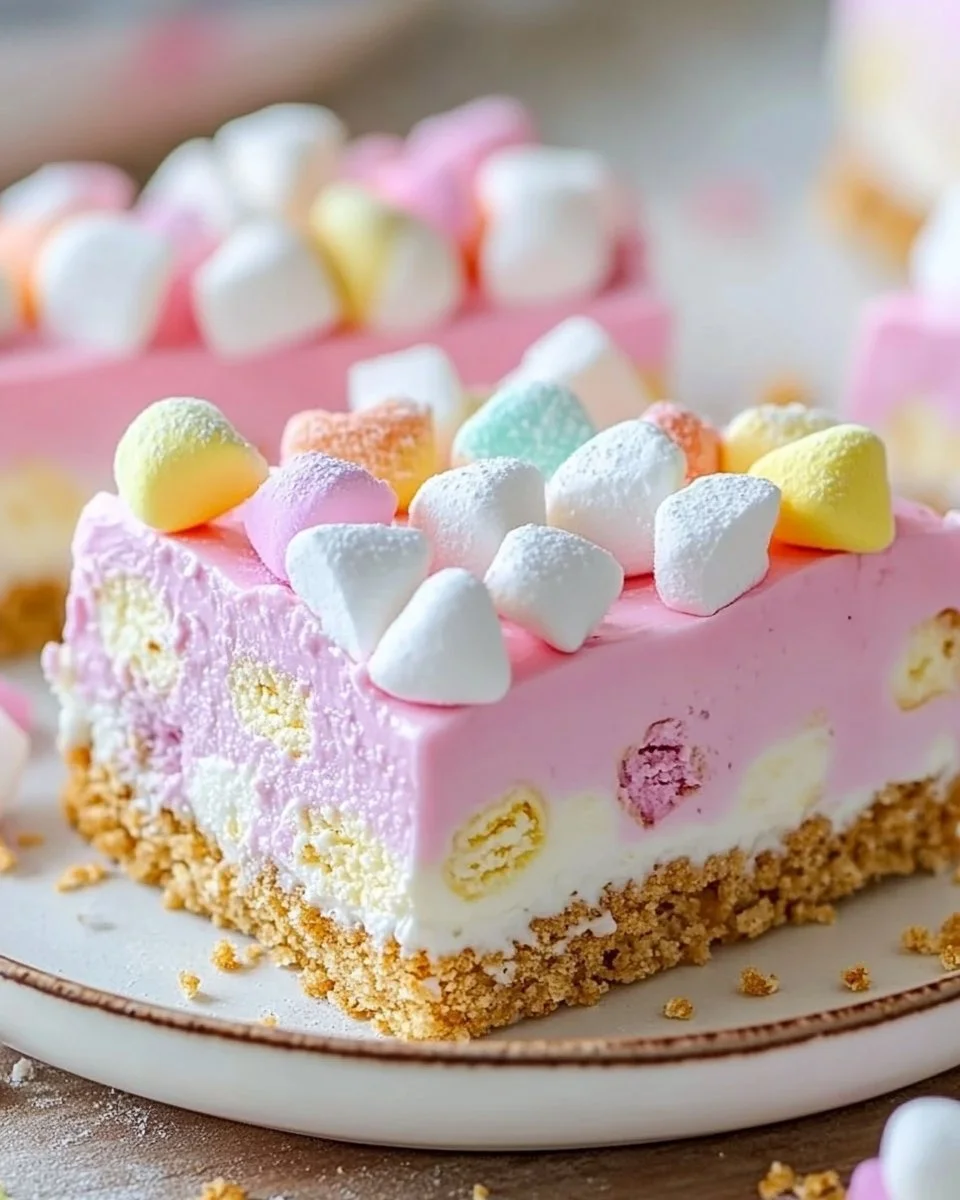
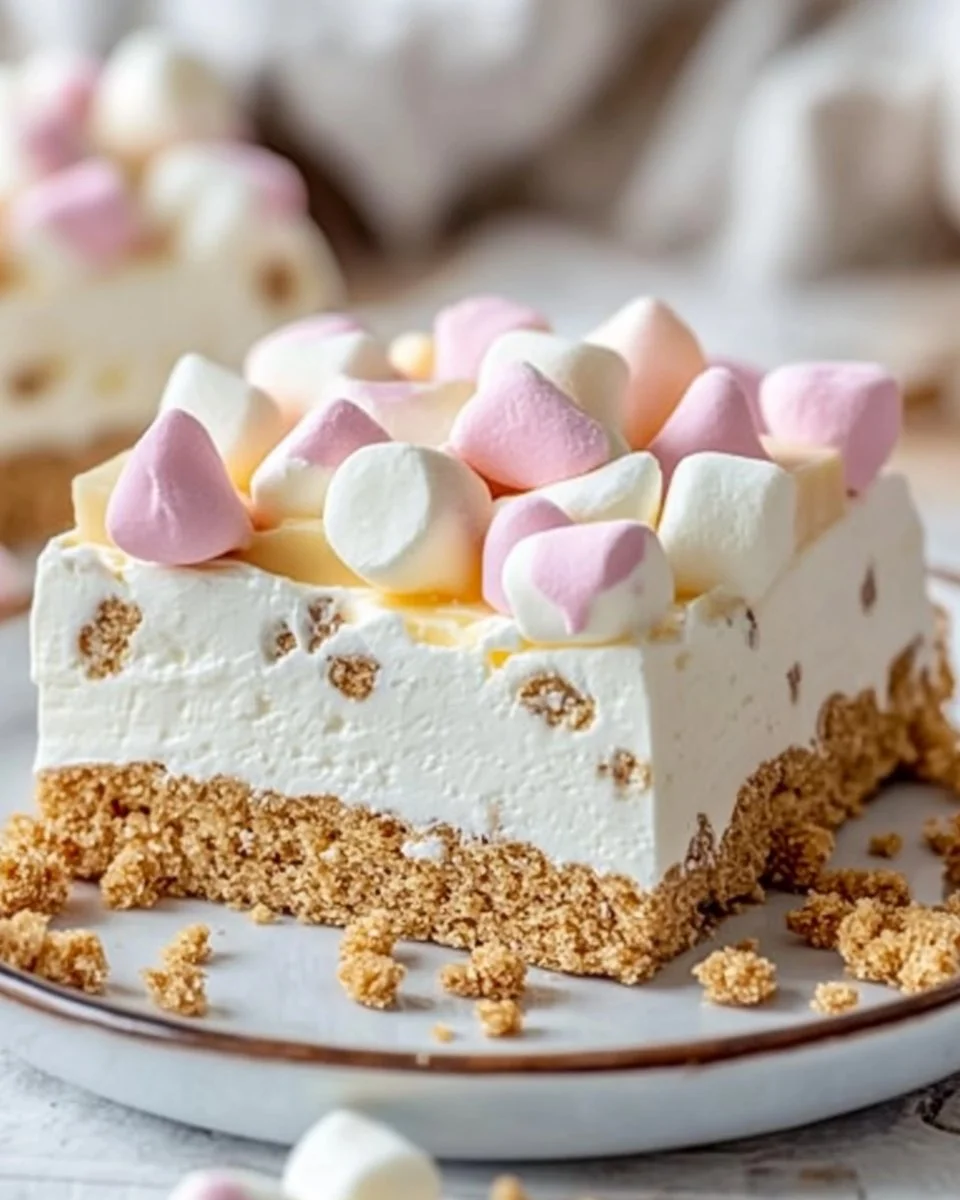
The digestive biscuits or graham crackers form the base of the slice, adding a crunchy texture that pairs perfectly with the soft marshmallows. The butter binds everything together while the cocoa gives it a rich chocolate flavor. The mini marshmallows add sweetness and a chewy texture, making every bite enjoyable. The desiccated coconut brings a hint of nuttiness that rounds out the overall taste beautifully.
Step-by-Step Instructions
Follow these simple steps to make your No-Bake Marshmallow Slice:
- Prepare the baking dish: Start by greasing a rectangular dish or lining it with baking paper. This will help you remove the slice easily once it’s set.
- Mix the dry ingredients: In a large mixing bowl, combine the crushed biscuits, cocoa powder, and icing sugar. Mix thoroughly to ensure that everything is evenly combined.
- Add the wet ingredients: Pour in the melted butter and mix until the dry ingredients are well coated. Your mixture should be crumbly but able to stick together when pressed.
- Incorporate the marshmallows: Gently fold in the mini marshmallows and desiccated coconut into the biscuit mixture. Make sure they are evenly distributed.
- Press the mixture into the dish: Transfer the mixture into your prepared baking dish, pressing it down firmly with the back of a spoon or your hands. Aim to create an even surface.
- Chill: Cover the dish with plastic wrap or aluminum foil and place it in the refrigerator. Let it chill for at least 2 hours or until it is firm.
- Slice and serve: Once set, remove the slice from the dish and cut it into squares or rectangles. Enjoy your No-Bake Marshmallow Slice!
For the best results, allow the slice to chill for longer if you can. This will not only enhance the flavors but will also make it easier to cut neat pieces.
Creative Ways to Enjoy Your Delicious Dessert
While the No-Bake Marshmallow Slice is delightful on its own, there are several creative ways to serve it. You can dust the top with a little extra cocoa powder or shredded coconut for visual appeal. For a more indulgent treat, consider drizzling melted chocolate on top or serving it alongside a scoop of vanilla ice cream. This dessert also pairs nicely with a cup of tea or coffee, making it a perfect addition to your afternoon snack or dessert table during gatherings.
Storing Leftovers: Tips for Longevity
To keep your No-Bake Marshmallow Slice fresh, store it in an airtight container in the refrigerator. It should last for up to a week, if it lasts that long! If you want to keep it longer, you can freeze it. Simply slice it into pieces, wrap each piece tightly in plastic wrap, and then place them in a freezer-friendly container. This way, you can enjoy a treat whenever the craving strikes. When you’re ready to eat it, let it thaw in the fridge for a couple of hours before serving.
Helpful Hints for Perfecting Your Slice
Here are some pro tips to elevate your No-Bake Marshmallow Slice:
- Choose the right biscuits: Opt for plain digestive biscuits or graham crackers. Flavored varieties may change the overall taste.
- Don’t skip the chilling time: It’s essential for the slice to firm up. Rushing this step may result in a gooey mess.
- Use mini marshmallows: They are easier to mix in and give you that signature chewy texture.
- Don’t over-compress: While you want the mixture to stick together, over-compressing may lead to a hard slice.
Common pitfalls include not letting it chill long enough or cutting into it too early. Taking your time will reward you with the best possible treat.
Swapping Ingredients for Your Personal Taste
This recipe is versatile, allowing for various ingredient swaps and variations. Here are some ideas:
- Change the base: Try using crushed Oreos or shortbread cookies for a different flavor profile.
- Add nuts: Chopped nuts, such as almonds or walnuts, can add an additional crunch and nutty flavor.
- Mix in dried fruits: Adding cranberries or raisins can enhance the sweetness and give a chewy texture.
- Try flavored marshmallows: Use different flavors of mini marshmallows (like strawberry or raspberry) for a fun twist.
The key is to keep the balance of textures and flavors, so feel free to get creative while maintaining the integrity of the dessert.
Frequently Asked Questions
- How long does the No-Bake Marshmallow Slice take to set? It typically takes about 2 hours to set in the fridge, but letting it chill overnight will yield even better results.
- Can I use regular marshmallows instead of mini? Yes! Just cut the regular marshmallows into smaller pieces to ensure even distribution in the slice.
- Is this recipe gluten-free? You can make it gluten-free by using gluten-free biscuits or crackers as a base.
- Can I add chocolate chips to the mixture? Absolutely! Chocolate chips can be a delicious addition, enhancing the chocolate flavor.
- What’s the best way to cut the slice once it’s set? Use a sharp knife dipped in warm water to cut the slice smoothly. This technique makes for clean edges.