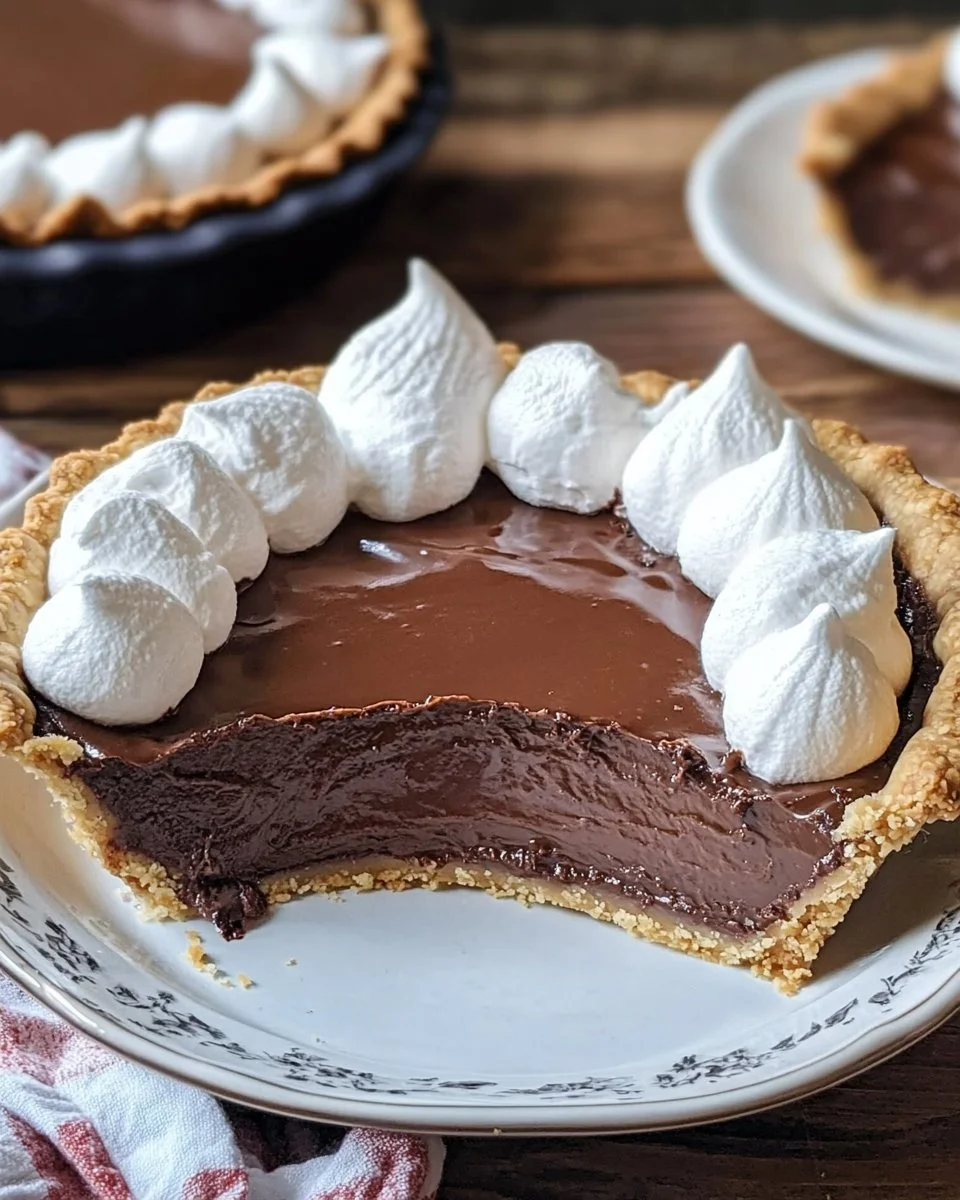
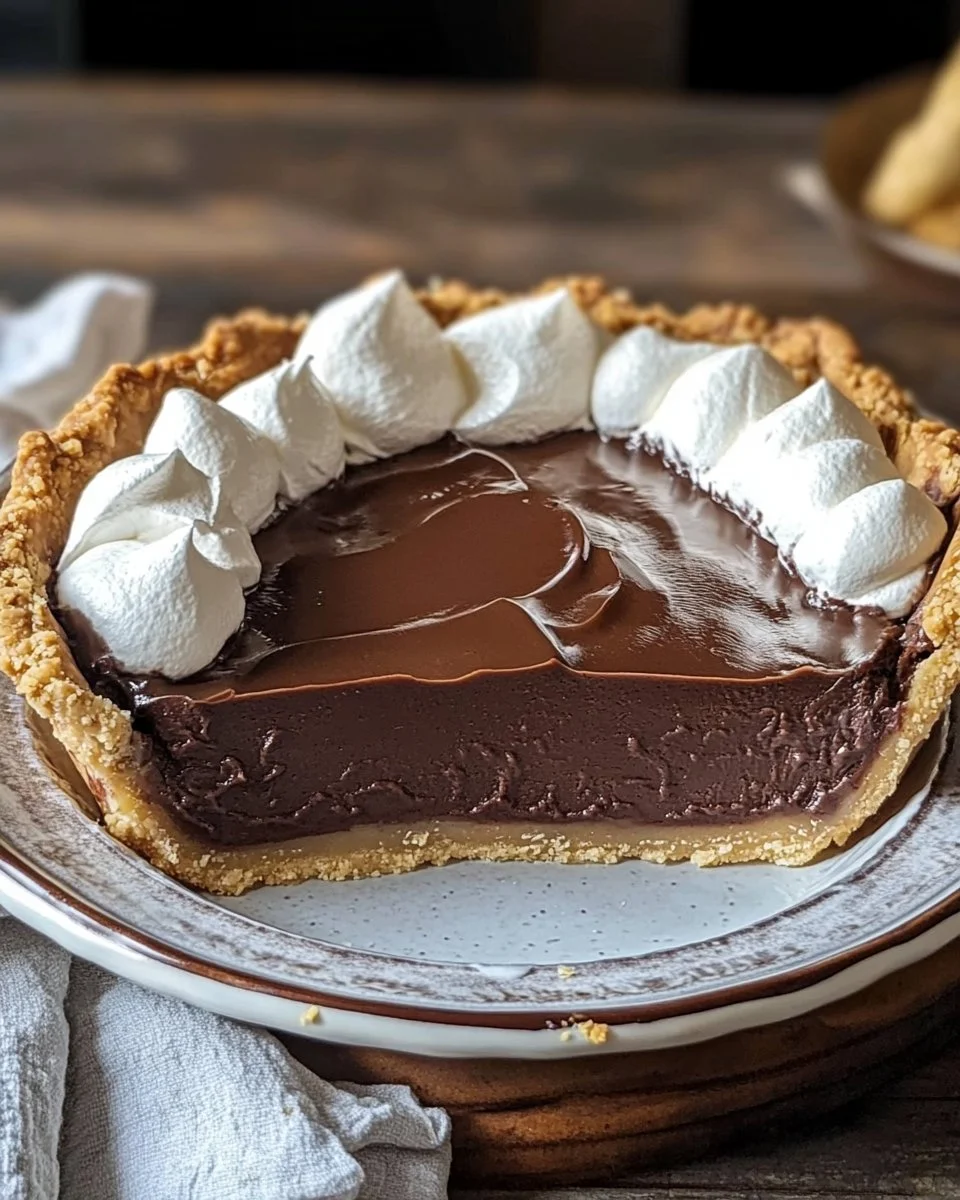
If you’re looking for a delightful dessert that brings back memories of simpler times, the Old-Fashioned Chocolate Pie is just what you need. This classic treat features a rich chocolate filling and a light, fluffy meringue topping, making it a perfect addition to any gathering or family dinner. Each bite is a delightful balance of flavors and textures, satisfying your sweet tooth in a way that only homemade desserts can. It’s not just a recipe; it’s a warm hug in pie form, evoking nostalgia and comfort with every slice.
What Makes This Chocolate Pie Recipe Shine
This recipe is designed for success with ease and flavor in mind. The great thing about Old-Fashioned Chocolate Pie is that you don’t need to be an experienced baker to make it. With straightforward steps and accessible ingredients, you’ll have a show-stopping dessert on your table without fuss. Plus, it’s an economical recipe that allows you to impress your guests without breaking the bank. Who doesn’t love a dessert that hits all the right notes while being easy on the pocket?
A Peek into the Cooking Journey
Creating this chocolate pie involves a few key steps, starting with preparing your filling and finishing with a beautiful meringue topping. You’ll begin by making a smooth, rich chocolate mixture and then temper in some egg yolks for creaminess. Afterward, you’ll pour this decadent filling into a pre-baked pie crust and top it with billowy meringue. The combination of baking and cooling results in a stunning dessert that looks as good as it tastes. It’s a sequence of steps that builds anticipation for the final product!
Ingredients
- 1 pre-baked pie crust
- 1/4 cup butter
- 1 cup sugar
- 1/4 cup flour
- 1/2 cup cocoa powder
- 2 cups milk
- 3 egg yolks
- 1 tsp vanilla extract
- 3 egg whites
- 1/4 tsp cream of tartar
- 1/2 cup sugar
Let’s briefly discuss some of the key players in this recipe. The butter is crucial for creating that rich, deep flavor in the chocolate filling, while the cocoa powder provides the chocolatey goodness we love. Using quality cocoa can make a big difference in taste, so opt for a well-regarded brand. The egg yolks enhance the creaminess and give the filling a luxurious texture, while the vanilla extract adds a lovely depth of flavor to the overall dish.
Step-by-Step Instructions
Now, let’s dive into the detailed steps to bring this delicious pie to life:
- Preheat the oven: Start by preheating your oven to 350°F (175°C). This ensures that your pie bakes evenly.
- Melt the butter: In a medium saucepan over medium heat, melt the butter until it’s completely liquefied.
- Combine dry ingredients: In a mixing bowl, whisk together the sugar, flour, and cocoa powder. Make sure there are no lumps for a smooth filling.
- Add dry mixture to butter: Gradually pour the dry mixture into the melted butter, stirring continuously to prevent any lumps from forming.
- Incorporate the milk: Slowly add the milk to the saucepan while stirring to create a smooth mixture. This step is key to achieving a consistent texture.
- Cook until thickened: Continue to cook the mixture for about 5-7 minutes, stirring constantly until it thickens. Once it reaches a pudding-like consistency, remove it from the heat.
- Prepare the egg yolks: In a separate bowl, whisk the egg yolks together. To temper them, add a spoonful of the hot chocolate mixture and stir. This helps bring the yolks up to temperature without cooking them.
- Add yolks to chocolate: Gradually stir the tempered yolks back into the saucepan, mixing well. Cook for an additional 2-3 minutes while stirring. This crucial step ensures the filling is smooth and creamy.
- Add vanilla: Stir in the vanilla extract, which will enhance the overall flavor profile. Remove from heat.
- Pour into pie crust: Carefully pour the rich chocolate filling into the pre-baked pie crust, ensuring it’s evenly distributed.
- Beat egg whites: In a clean mixing bowl, beat the egg whites and cream of tartar together until soft peaks form. You can use an electric mixer for faster results.
- Sweeten the meringue: Gradually add the sugar while continuing to beat the egg whites until stiff peaks form. This meringue adds a lovely texture and sweetness.
- Spread meringue: Gently spread the meringue over the chocolate filling, ensuring that the edges are sealed to prevent shrinking while baking.
- Bake the pie: Place the pie in the oven and bake it for 10-12 minutes, or until the meringue becomes golden brown. Keep an eye on it to avoid over-baking.
- Cool before serving: Allow the pie to cool completely before serving. This step is vital for the filling to set properly.
- Enjoy: Serve your Old-Fashioned Chocolate Pie with a dollop of whipped cream or alongside fresh berries for a delightful finish.
Delicious Ways to Serve This Dessert
When it’s time to serve your Old-Fashioned Chocolate Pie, consider how you can elevate its presentation and taste. Opt for a dollop of freshly whipped cream to add a light, creamy contrast to the rich chocolate filling. Additionally, fresh berries like strawberries, raspberries, or blueberries not only add color but also a touch of tartness that beautifully complements the pie’s sweetness.
For an adult twist, drizzle some chocolate or caramel sauce over each slice for added sweetness and depth. This pie is a fantastic option for gatherings, birthdays, or special occasions, but it’s equally wonderful as an everyday treat. Pair it with a cup of coffee or tea for a delightful afternoon dessert moment.
How to Keep Your Chocolate Pie Fresh
Storing your Old-Fashioned Chocolate Pie properly ensures it retains its deliciousness. To store:
- Cover the pie loosely with plastic wrap or aluminum foil and place it in the refrigerator. It will stay fresh for up to 3 days.
- You can freeze the pie as well. Wrap it tightly in plastic wrap followed by aluminum foil to protect it from freezer burn. It can be frozen for up to 2 months.
When it’s time to enjoy the pie again, remove it from the freezer and let it thaw in the refrigerator overnight. Avoid reheating the pie in the microwave, as this may affect the texture of the meringue. Instead, enjoy it chilled or at room temperature for the best experience.
Helpful Tips for Success
A few simple tricks can help you ensure that your chocolate pie turns out perfect every time:
- Make sure your ingredients are at room temperature before you begin, especially the eggs and milk. This helps create an even mixture.
- Be gentle when spreading the meringue. Try not to deflate it as you’re spreading, or you may lose some of that lovely volume.
- Keep a close eye on your meringue as it bakes. Ovens can vary, and meringue can go from perfectly golden to burnt quickly.
- If the filling starts to bubble while cooking, lower the heat to avoid overcooking it.
Exciting Variations to Try
This recipe is versatile, allowing for a few fun twists that can add a unique flair to your pie:
- Chocolate variations: Experiment with different types of chocolate, such as dark chocolate or milk chocolate, to change the flavor profile.
- Add-ins: Consider adding chocolate chips or nuts to the filling for extra texture and flavor.
- Flavor infusions: A splash of peppermint extract can give the pie a refreshing taste, perfect for holiday gatherings.
Feel free to adjust components as per your family’s taste preferences. After all, great recipes are all about making them your own!
Common Questions and Answers
- Can I use a store-bought pie crust? Absolutely! Store-bought pie crusts are a convenient option and can save you time.
- How do I know when the meringue is done cooking? The meringue should be a light golden brown on top, and firm to the touch but not hard.
- Can I make this pie ahead of time? Yes, this pie can be made a day in advance. Just make sure to store it properly in the refrigerator.
- What should I do if my meringue starts to weep? Weeping can occur if the meringue isn’t cooked enough or the pie is stored too long. Try to consume it within a few days for the best texture.