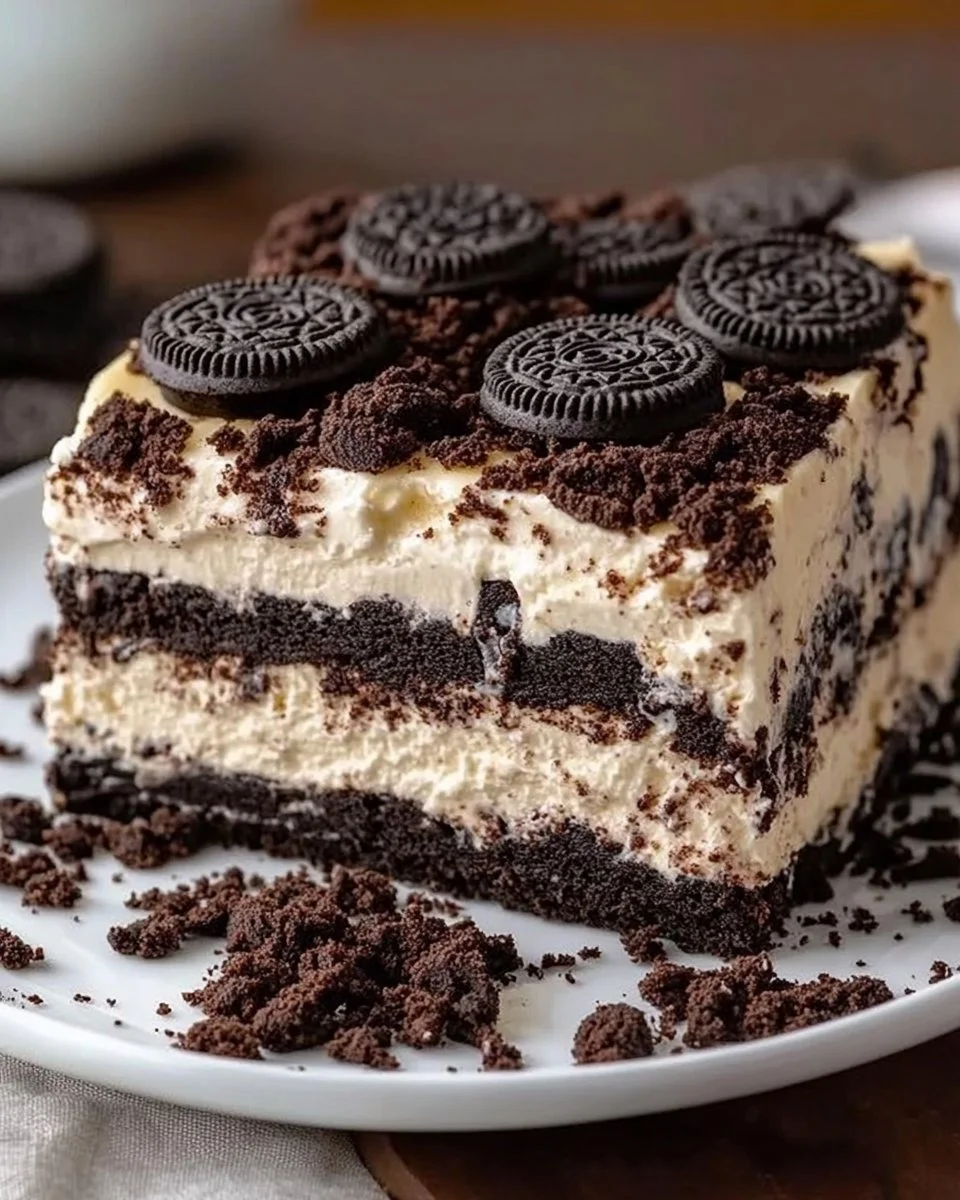
Are you looking for a dessert that is both indulgent and incredibly easy to make? Look no further than Oreo Lasagna! This delightful no-bake dessert delivers layers of creamy, rich flavors that will impress your family and friends without keeping you in the kitchen for hours. Perfect for parties, potlucks, or just a sweet treat at home, Oreo Lasagna combines the classic taste of Oreos with a heavenly cream cheese mixture and velvety chocolate pudding.
What makes this dessert so special is not just its delicious taste, but also its beautiful presentation. Each layer is visible through the dish, showcasing the contrast between the dark chocolate cookies and the light, creamy filling. This makes it not only a delight to eat but also a feast for the eyes. So grab your apron, and let’s dive into why you need to make this Oreo Lasagna at home!
What Makes This Dessert a Winner
This Oreo Lasagna recipe is a crowd-pleaser for many reasons. First and foremost, it’s incredibly easy. Even beginner cooks can master this recipe with minimal effort. You don’t need to worry about baking times or complex techniques; it’s all about layering delicious ingredients.
Additionally, the dish is budget-friendly. Most of the ingredients are simple and affordable, making this dessert a guilt-free indulgence. You’ll find that it requires no special equipment, just a few mixing bowls and a baking dish. Whether you’re feeding a large family or preparing for a gathering, this recipe checks all the boxes for convenience and taste.
A Simple Breakdown of the Cooking Process
The preparation for this Oreo Lasagna is straightforward, making it a perfect choice for those busy weeknights or last-minute gatherings. Start by creating the flavorful cookie crust with crushed Oreos and melted butter. Once the crust is set, whip up a creamy layer made from cream cheese, powdered sugar, and Cool Whip. After that, mix half and half with chocolate pudding to create a rich pudding layer. Finally, you’ll assemble everything together to make stunning layers. All that’s left to do is chill in the fridge, allowing the flavors to meld beautifully. It really is that simple!
Ingredients
- 48 Oreo cookies
- 10 tbsp salted butter
- 12 oz cream cheese
- 3/4 cup powdered sugar
- 8 oz Cool Whip
- 1 tsp vanilla extract
- 6 Oreo cookies (for topping)
- 3 cups half and half
- 7.8 oz instant chocolate pudding
- 6 Oreo cookies (for additional topping)
- 8 oz Cool Whip (for topping)
- 12 Oreo cookies (for garnish)
Each ingredient plays a critical role in bringing out the delicious flavors while keeping the texture just right. The Oreo cookies provide that iconic chocolate crunch, while the cream cheese and Cool Whip create a delectably creamy texture. You may also notice a hint of vanilla flavor from the extract, enhancing the overall taste profile of this dessert.
Step-by-Step Instructions
- Prepare the Oreo crust: Begin by crushing 48 Oreo cookies into fine crumbs, which you can achieve by placing them in a zipper bag and using a rolling pin. Melt the 10 tablespoons of salted butter, then mix it with the cookie crumbs until well combined. Press this mixture firmly into the bottom of a 9×13-inch baking dish. Make sure to pack it tightly so it holds its shape, then refrigerate for about 30 minutes to set.
- Make the creamy layer: In a large mixing bowl, beat together the 12 ounces of cream cheese, 3/4 cup powdered sugar, and 1 teaspoon of vanilla extract using an electric mixer. Mix until the mixture is smooth and creamy. Gently fold in 8 ounces of Cool Whip until it is fully incorporated. Take care not to deflate the mixture, as you want it to stay light and fluffy. Spread this cream cheese mixture evenly over the chilled Oreo crust.
- Create the chocolate pudding layer: In another bowl, whisk together 3 cups of half and half with 7.8 ounces of instant chocolate pudding. Keep whisking until the mixture thickens, which usually takes about 2-3 minutes. Once thickened, spread this chocolate pudding mixture over the cream cheese layer, smoothing it out evenly.
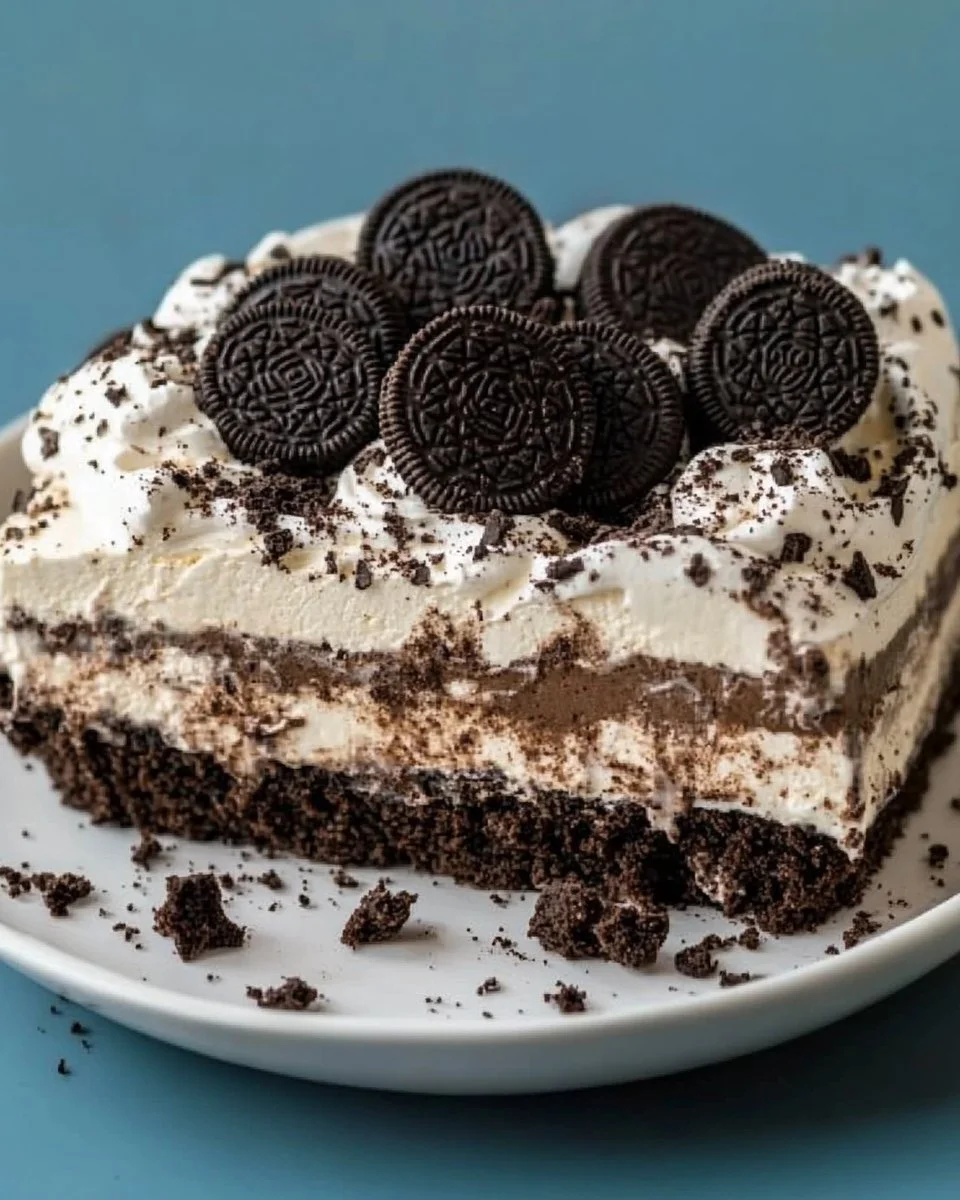
- Add the Cool Whip and toppings: Spread an additional layer of Cool Whip (8 ounces) over the pudding layer. Then, take the 6 crushed Oreo cookies and sprinkle them generously over the top. For even more visual appeal, crush the remaining 12 Oreo cookies and scatter those on top as well.
- Chill before serving: Cover the dish with plastic wrap or a lid and place it in the refrigerator. Allow it to chill for at least 4 hours, but if you have time, overnight is even better. This will help the layers set properly and enhance the flavor.
These steps make it clear how easy it is to put together this delicious dessert. Remember to take your time when layering and aim for evenness to get that picturesque look!
Perfect Ways to Serve Your Creation
This delectable Oreo Lasagna is versatile when it comes to serving. It’s ideal for any occasion, whether you’re hosting a summer barbecue, celebrating a birthday, or simply treating yourself after a long day. Slice it into squares and place them on pretty dessert plates for an elegant touch at a dinner party.
You can also serve it alongside fresh berries, such as strawberries or raspberries, to introduce a pop of color and tartness that balances the sweetness of the dessert. For drinks, consider pairing it with iced coffee, a glass of milk, or even a rich cup of hot chocolate for the ultimate chocolate experience.
How to Store and Reheat
To store your leftover Oreo Lasagna, cover it tightly with plastic wrap or aluminum foil and keep it in the refrigerator. This dessert will remain fresh for up to 3-4 days. Because it’s a chilled dessert, there’s no need to freeze this creation. Freezing could change the texture of the ingredients, especially the Cool Whip and cream cheese layers.
If you find yourself wanting to enjoy it again after a couple of days, just grab a slice straight from the fridge and dig in! There’s no need to reheat this dessert, as it’s best served cold. Just remember to keep it well-covered to prevent it from absorbing any fridge odors.
Expert Tips for a Better Dessert
If you want to elevate your Oreo Lasagna experience, here are a few pro tips:
- Don’t skip chilling: Letting the layers chill is crucial. It allows the flavors to meld together beautifully and helps the layers set, making it easier to slice.
- Use room temperature ingredients: Ensure your cream cheese is at room temperature before mixing. This helps create a smooth, lump-free mixture.
- Watch the layering: Take your time when spreading each layer to keep the overall look neat and appealing. A spatula can be your best friend here.
- Avoid overmixing: When combining the Cool Whip with the cream cheese mixture, be gentle. Overmixing can deflate the airiness that makes this dessert so light and luscious.
By following these tips, you can avoid common pitfalls and create a stunning dessert each time.
Possible Variations to Try
While the classic Oreo flavor is hard to beat, feel free to get creative with this recipe. Here are a few variations to consider:
- Peanut Butter Oreo Lasagna: Replace half of the cream cheese with peanut butter for a nutty twist. It pairs perfectly with the chocolate layers.
- Mint Oreo Lasagna: Use mint-flavored Oreos instead of regular ones. Add a hint of peppermint extract to the cream cheese mixture for extra minty goodness.
- Fruit Layer: Layer in some fresh sliced strawberries or bananas between the cream cheese and chocolate pudding layers for added sweetness and freshness.
- Dairy-Free Option: Substitute regular Cool Whip with a dairy-free alternative and use non-dairy cream cheese to create a delicious vegan version.
These variations can make the recipe more fun and allow you to tailor it to different tastes and preferences.
Common Queries and Answers
Can I make Oreo Lasagna in advance?
Yes, this dessert is perfect for making ahead of time. In fact, it tastes even better the longer it chills, so preparing it a day in advance is ideal.
How should I cut and serve it?
Use a sharp knife to cut through the layers, and clean the knife with a damp cloth after each cut for clean edges. Small squares work well for serving.
Can I freeze the leftovers?
While it’s best enjoyed fresh, if you have to freeze it, try to consume it within one week. Keep in mind that the texture may change upon thawing.
What’s the ideal serving size?
Depending on how decadent you want it to be, a serving size of 2×2 inches is typically appropriate for this rich dessert.
Can I use homemade whipped cream instead of Cool Whip?
Absolutely! Homemade whipped cream can make for a fresher taste and is a wonderful substitute if you’re looking for a more natural ingredient.